Free 3D print file · PACKOUT-compatible
Base Cleat for Milwaukee® PACKOUT™
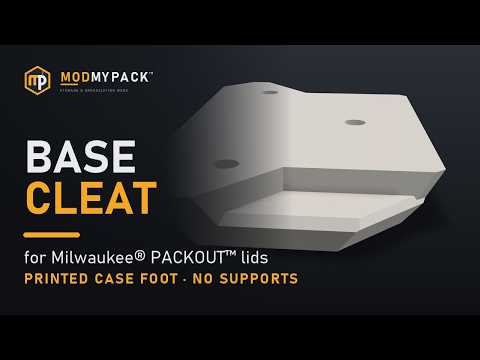
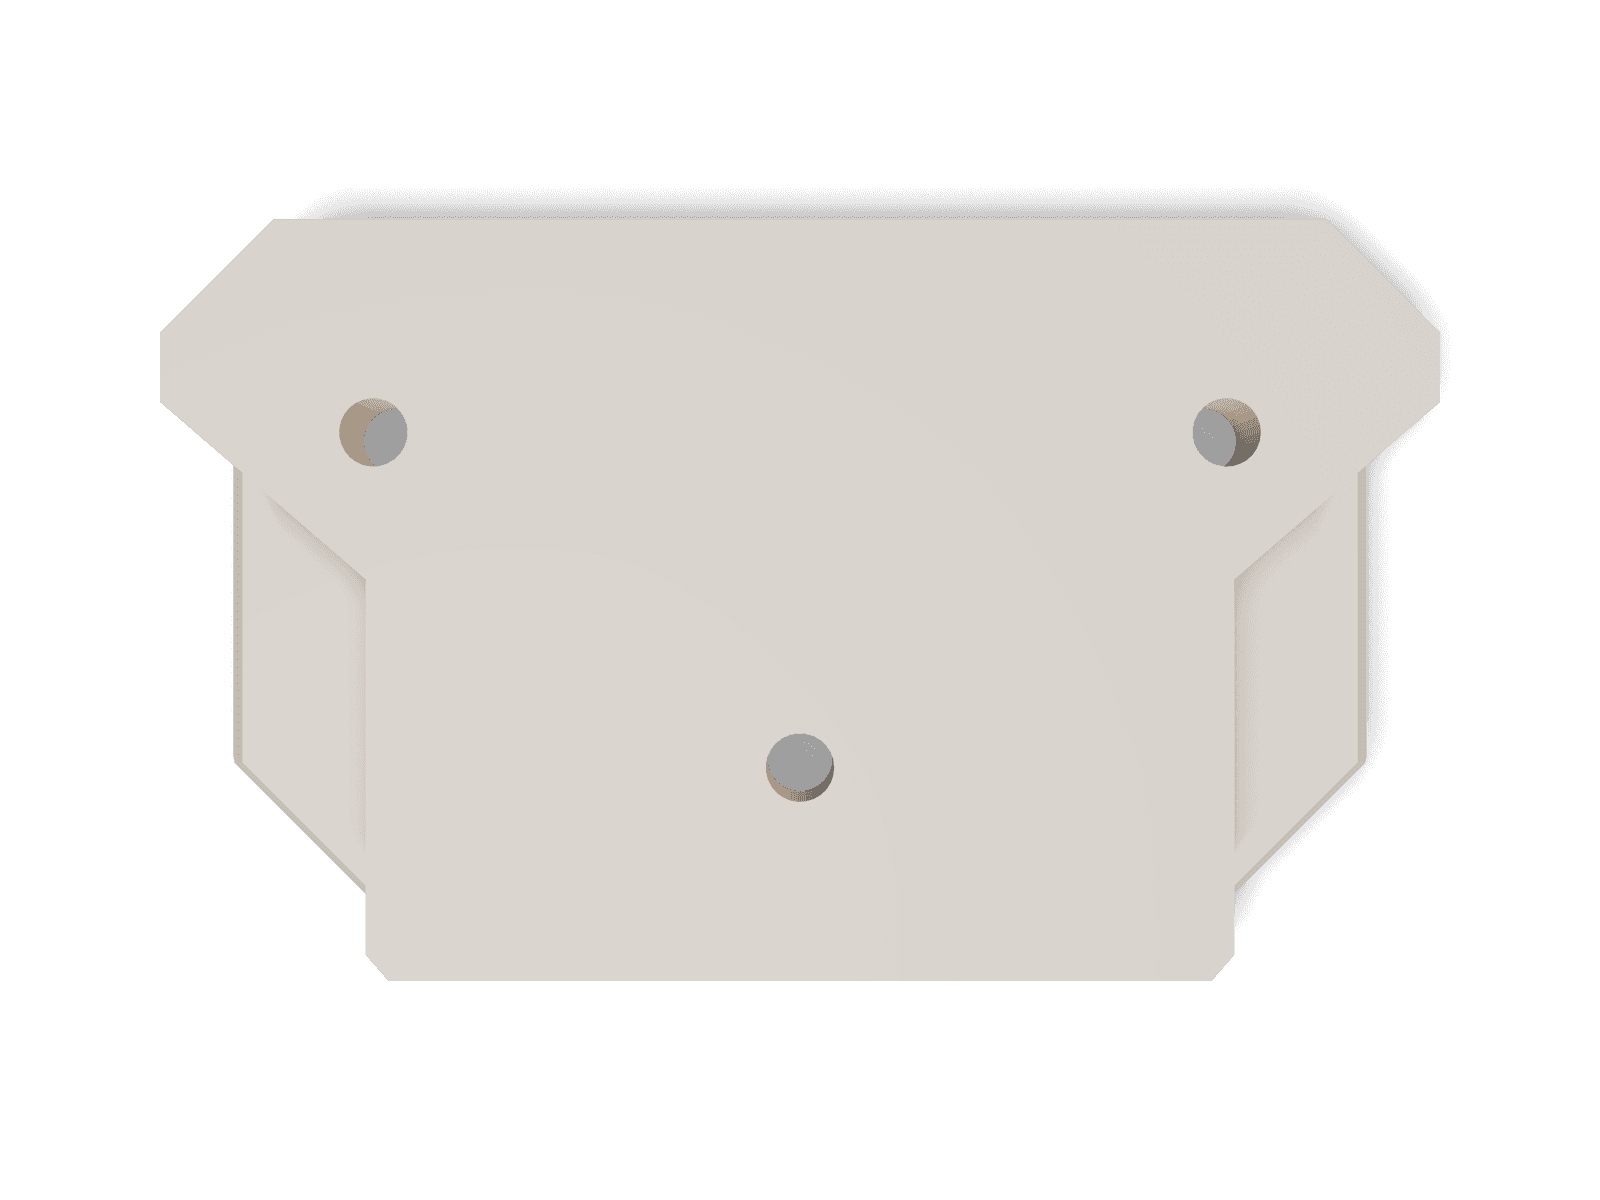
A printed PACKOUT™ case foot. Fix four (eight on a double-wide) under a radio, a worktop, another toolbox or a shelf, and it slots onto a PACKOUT™ lid like a case does.
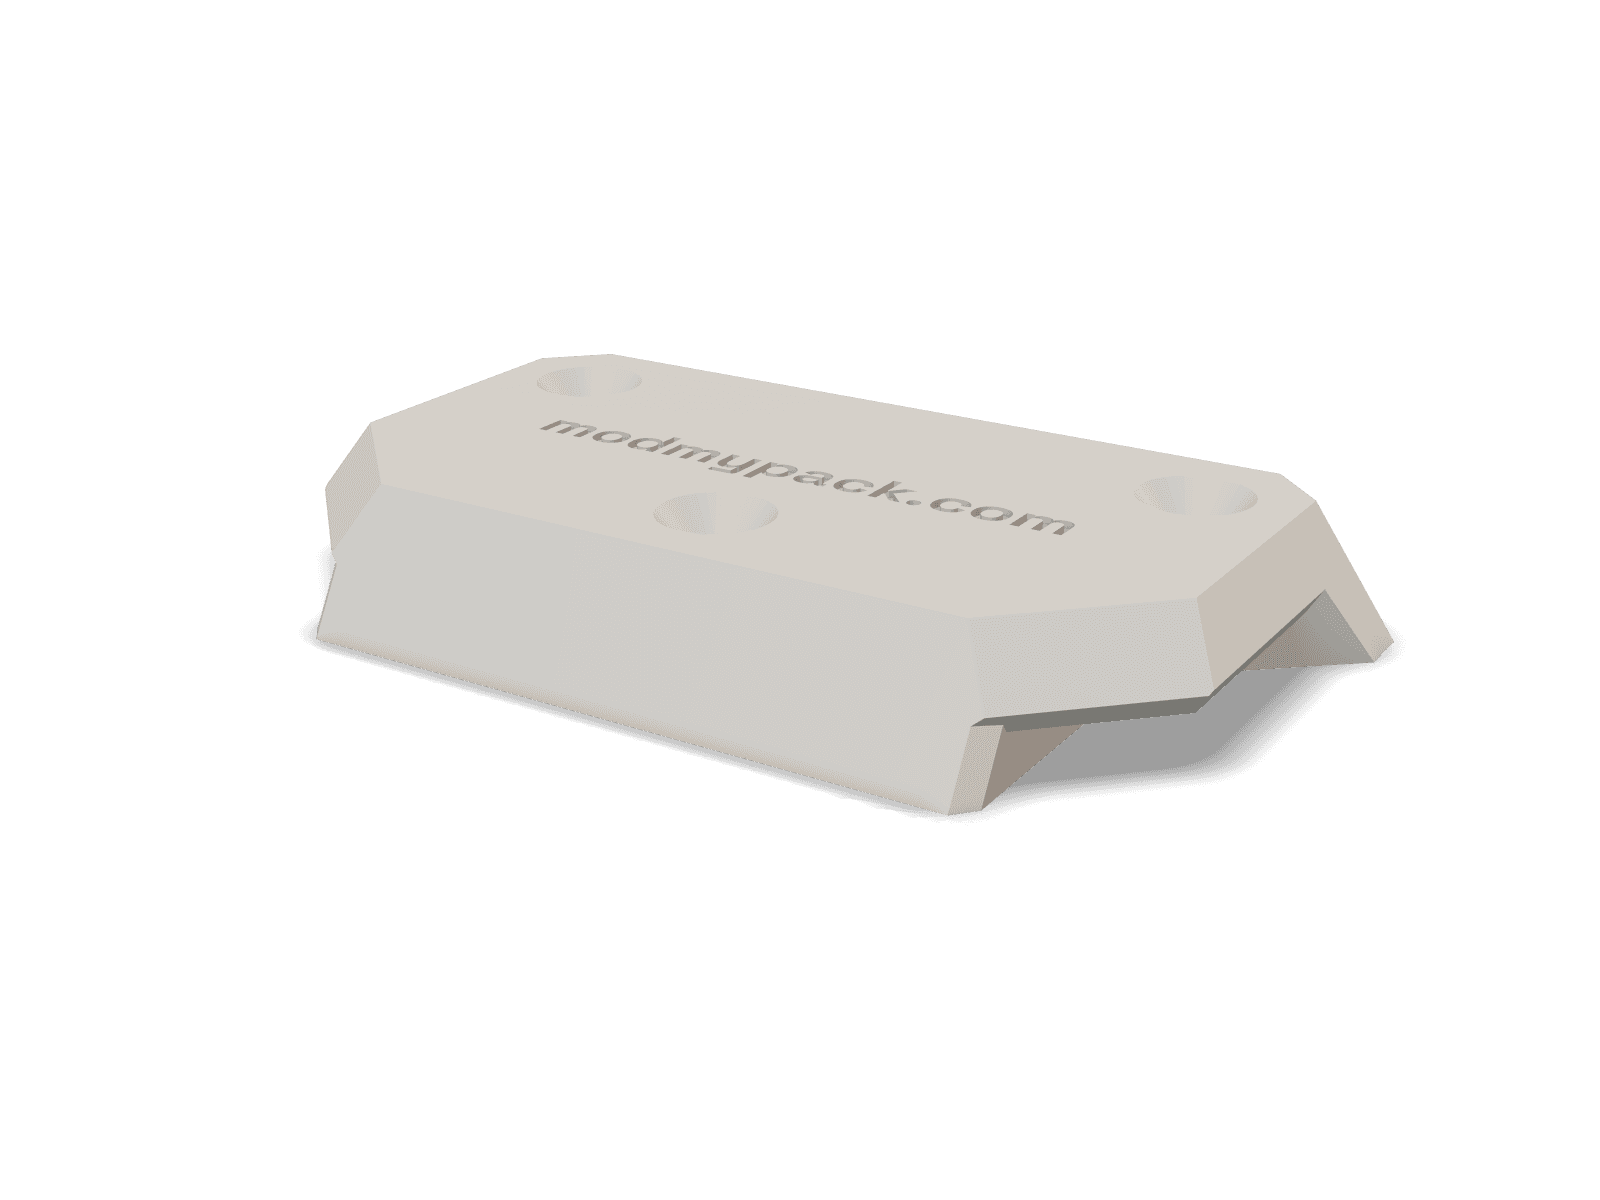
Based on Milwaukee Packout Base Cleat by Foreverwinter (CC BY 4.0), itself based on Milwaukee Packout foot/base by Zer0sum (CC BY). We added a debossed modmypack.com on the lid face and a 4-up print plate; the cleat is theirs, unchanged. These files are shared under CC BY 4.0 too: share, change or sell them, crediting Foreverwinter, Zer0sum and modmypack.
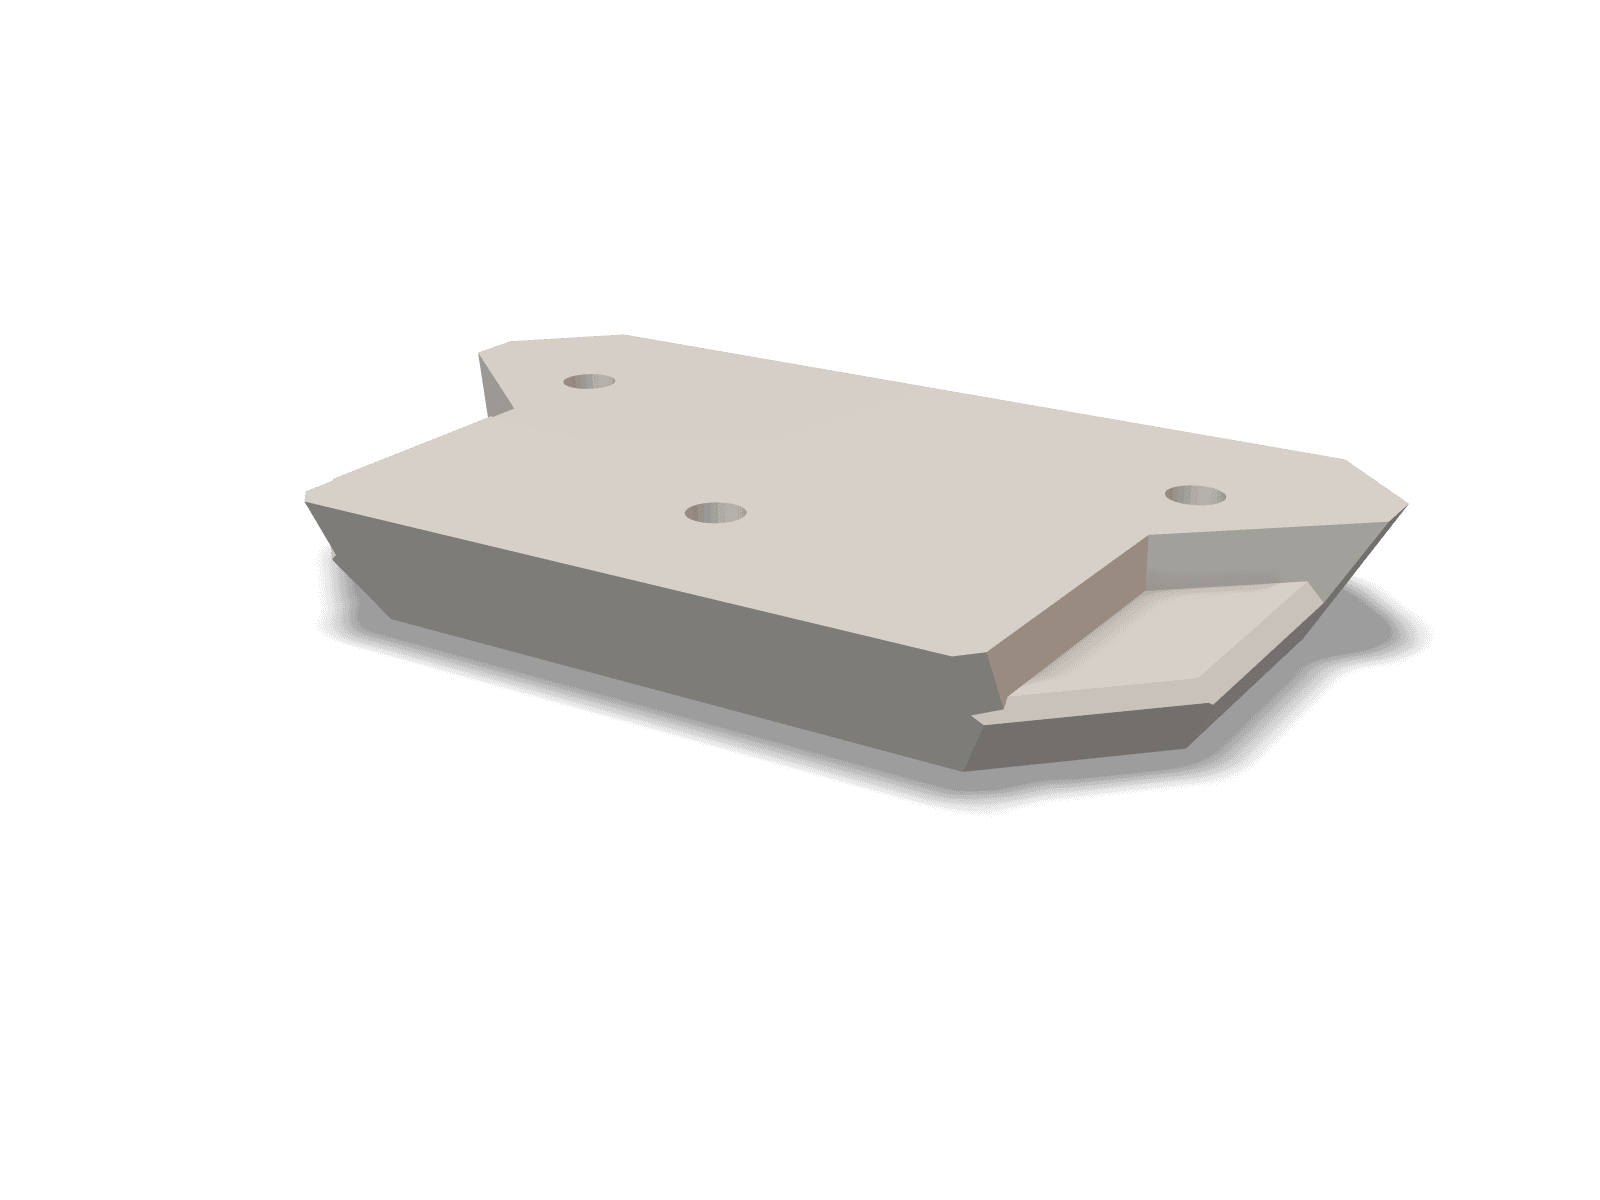 View cleat details
Watch it work
What you need
Get every Amazon part in one click
Goes in your cart:
- 1 × pack of 120: #8 × 3/4 in flat-head wood screws (120-pack)
- 1 × Gorilla Super Glue Gel XL (CA glue)
Amazon asks you to confirm before anything is added, and you can change quantities in the cart.
Don’t have a 3D printer?
Have it printed for you
Download the file, then upload it to Craftcloud. It compares prices from print shops and ships the parts to you. Ask for PETG or ABS, as in the print settings.
Get it printed on CraftcloudWant a ready-made set from me?
I’m thinking about printing and shipping ready-made sets. Join the list and I’ll email you if I do. No commitment.
Print settings
- Material
- PETG or ABS
- Layer height
- 0.2 mm
- Infill
- 30% or more, 4 walls
- Supports
- None
Print it as it comes, upside down: the lid face (with modmypack.com) on the bed. Use more infill if you screw into it hard. PETG or ABS, as the original designer recommends: cleats ride in trucks and vans.
Install
Step 1
Print the cleats
Four for a single-width lid, eight for a double-wide one; the download's 4-up plate does a set at a time. They print upside down with no supports.
Step 2
Slot them into the lid
Slot a cleat into each of the lid's foot positions, logo face down toward the lid. The lid holds them exactly where your item's feet need to be.
Step 3
Tack the item onto them
Put a dab of CA glue (super glue gel) on top of each cleat and set the item down on them. Once the glue sets, slide the item along to free the cleats from the lid's slots, then lift it off: the cleats come with it, in the right places.
Step 4
Screw them on
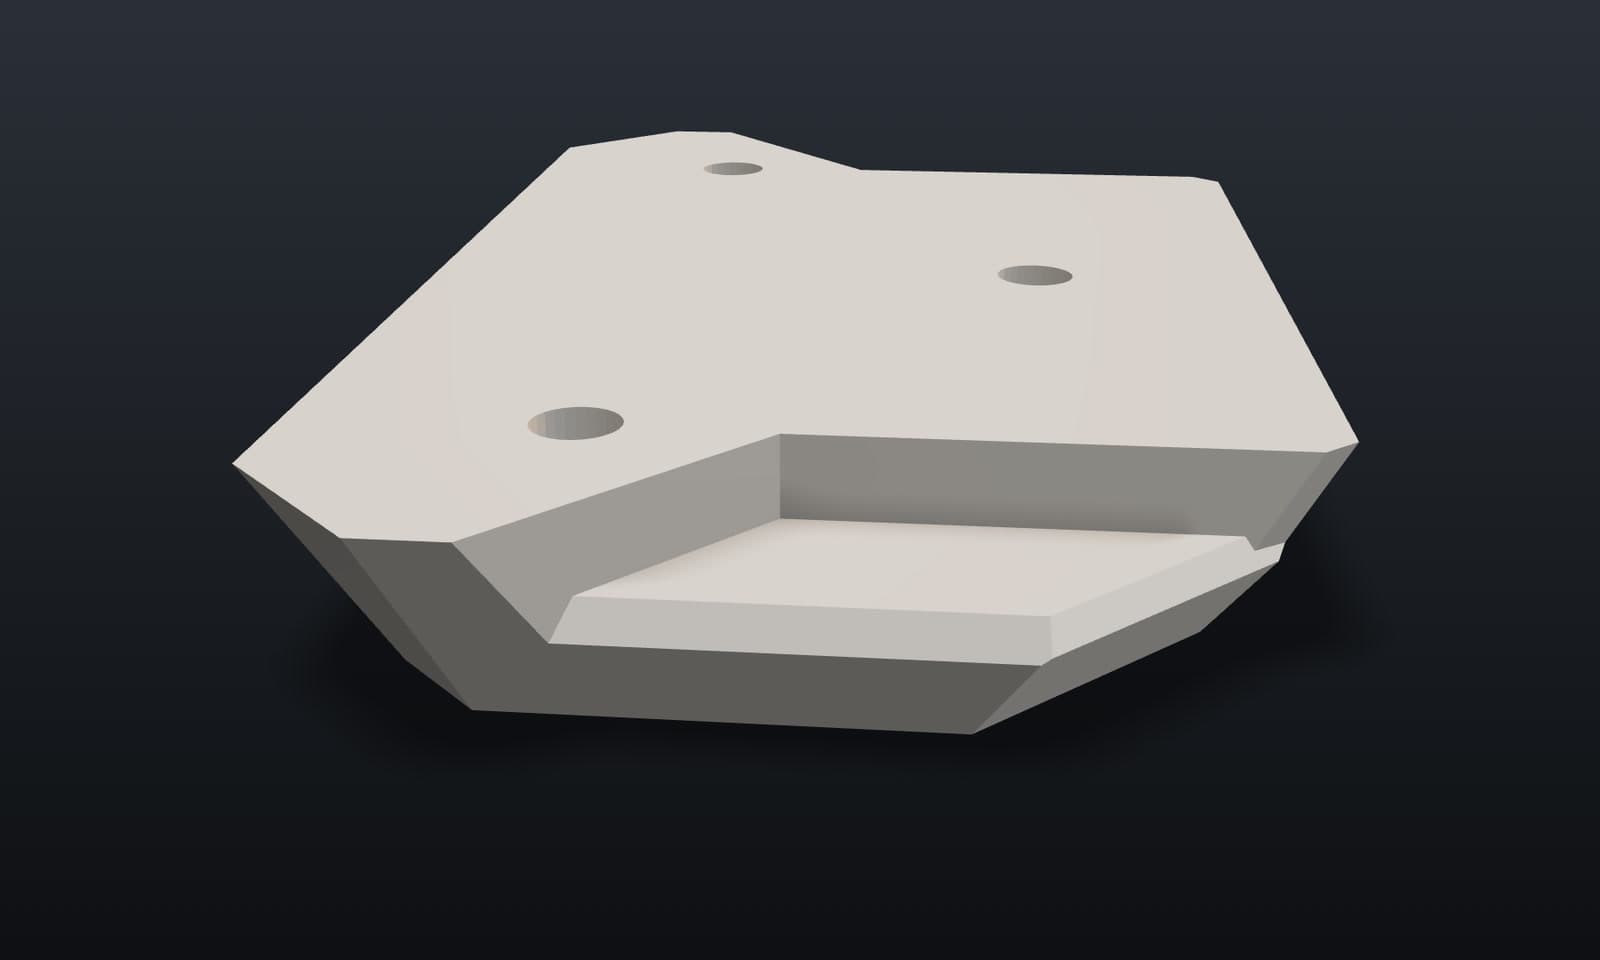
Turn the item over and drive three #8 flat-head screws through each cleat's countersunk holes. The heads sit flush, so the item slots back onto any PACKOUT™ lid.
Questions before you build
Who designed it?
Zer0sum made the original "Milwaukee Packout foot/base" in 2019, and Foreverwinter converted it to Fusion 360, refined the chamfers and tolerances, added the screw holes and made it print without supports. Both shared it under CC BY, so these files are CC BY 4.0 too: you can share, change or sell them, crediting Zer0sum, Foreverwinter and modmypack. We added the debossed modmypack.com and the 4-up plate.
How many cleats do I need?
Four for a single-width PACKOUT™ lid and eight for a double-wide one: one in each of the lid's foot positions. Four on a lid held an item securely in testing.
Which way round does it go?
Logo face down: the face with the debossed modmypack.com and the countersinks goes toward the lid, and the flat face goes against your item. It slots into the lid's foot positions.
Screws or glue?
Both: CA glue to tack each cleat in place, then three #8 flat-head screws through it, whose heads sit flush on the lid side. On something you can't screw into, use a strong adhesive like epoxy or construction adhesive instead; the original designer used hot glue.
Is it really free?
Yes. Sign in once with your email or Google and every design is a free download.