
Free 3D print file · PACKOUT-compatible
Drawer Cradle for Milwaukee® PACKOUT™
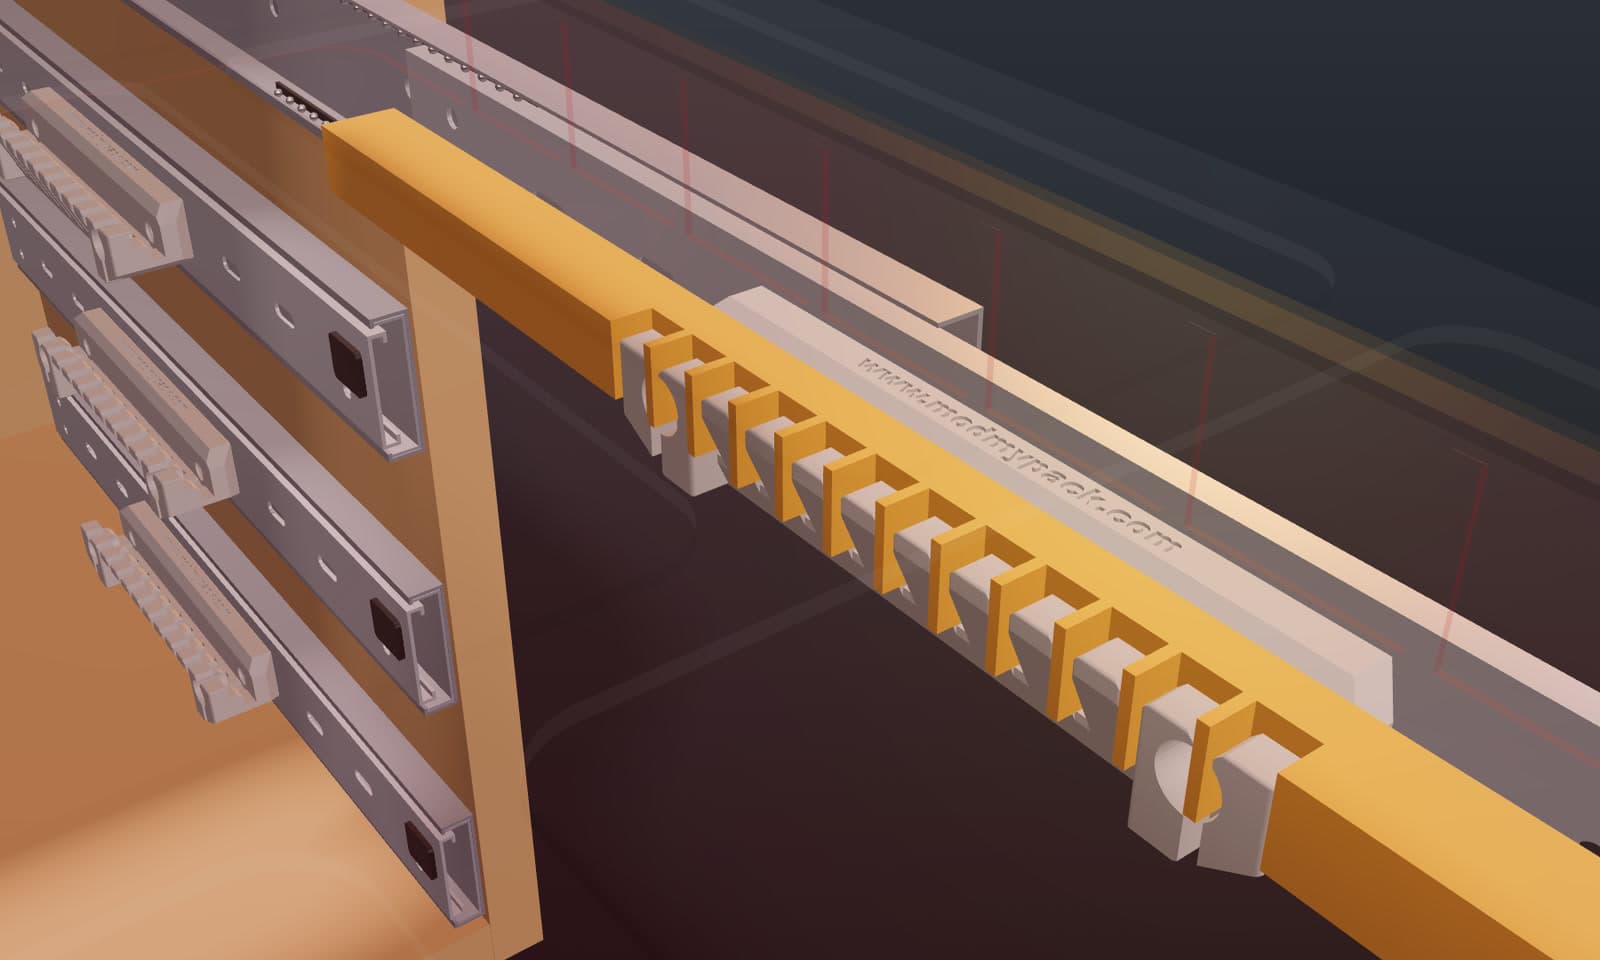
Bolt a pair of cradles to standard side-mount drawer slides and your Milwaukee® PACKOUT™ organizer becomes a smooth pull-out drawer that still lifts straight out.
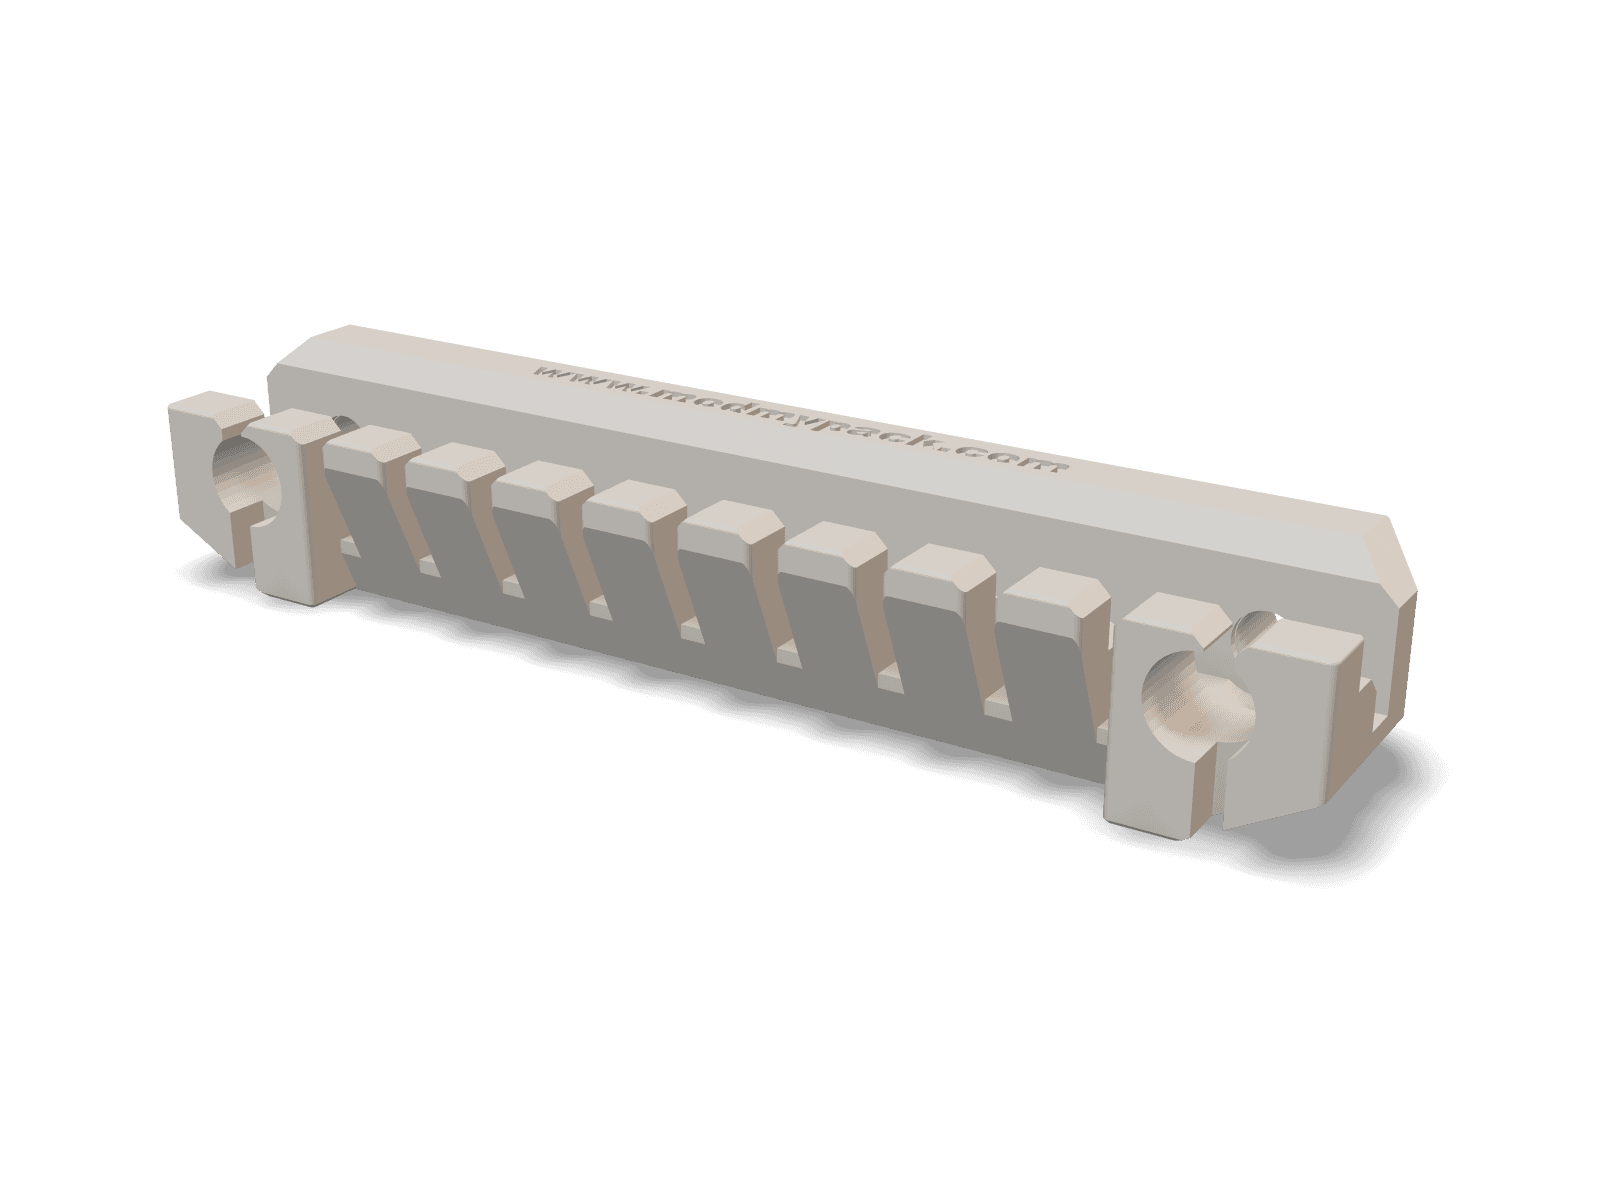 View cradle details
Watch it work
What you need
Get every Amazon part in one click
Goes in your cart:
- 1 × pack of 4: pair of 20-inch full-extension side-mount drawer slides
- 1 × pack of 25: M5 brass heat-set inserts (9.5 mm long, 6.5 mm OD)
- 1 × heat-set insert soldering iron (80 W, adjustable temperature)
- 1 × pack of 50: M5 × 8 mm flat round-head socket screws
Amazon asks you to confirm before anything is added, and you can change quantities in the cart. Also get 1 × Milwaukee® PACKOUT™ 5-Compartment Low-Profile Compact Organizer (48-22-8436) at Home Depot (linked above).
Drill Guide for Your Slides
Most drawer slides need two holes drilled in the inner member to line up with the cradle's 118 mm screw spacing. A printable drill guide will mark them for you.
Don’t have a 3D printer?
Have it printed for you
Download the file, then upload it to Craftcloud. It compares prices from print shops and ships the parts to you. Ask for PETG or ABS, as in the print settings.
Get it printed on CraftcloudWant a ready-made set from me?
I’m thinking about printing and shipping ready-made sets. Join the list and I’ll email you if I do. No commitment.
Print settings
- Material
- PETG or ABS
- Layer height
- 0.2 mm
- Infill
- 40% triangles, 4 walls
- Supports
- None
Print text side up, with the www.modmypack.com lettering on top. That's how the STL is already oriented, so it goes straight to the slicer. Use PETG or ABS, not PLA: tools get stored in hot garages, trucks and sheds, and the cradle carries a loaded organizer every time the drawer opens.
Install
Step 1
Print the cradles
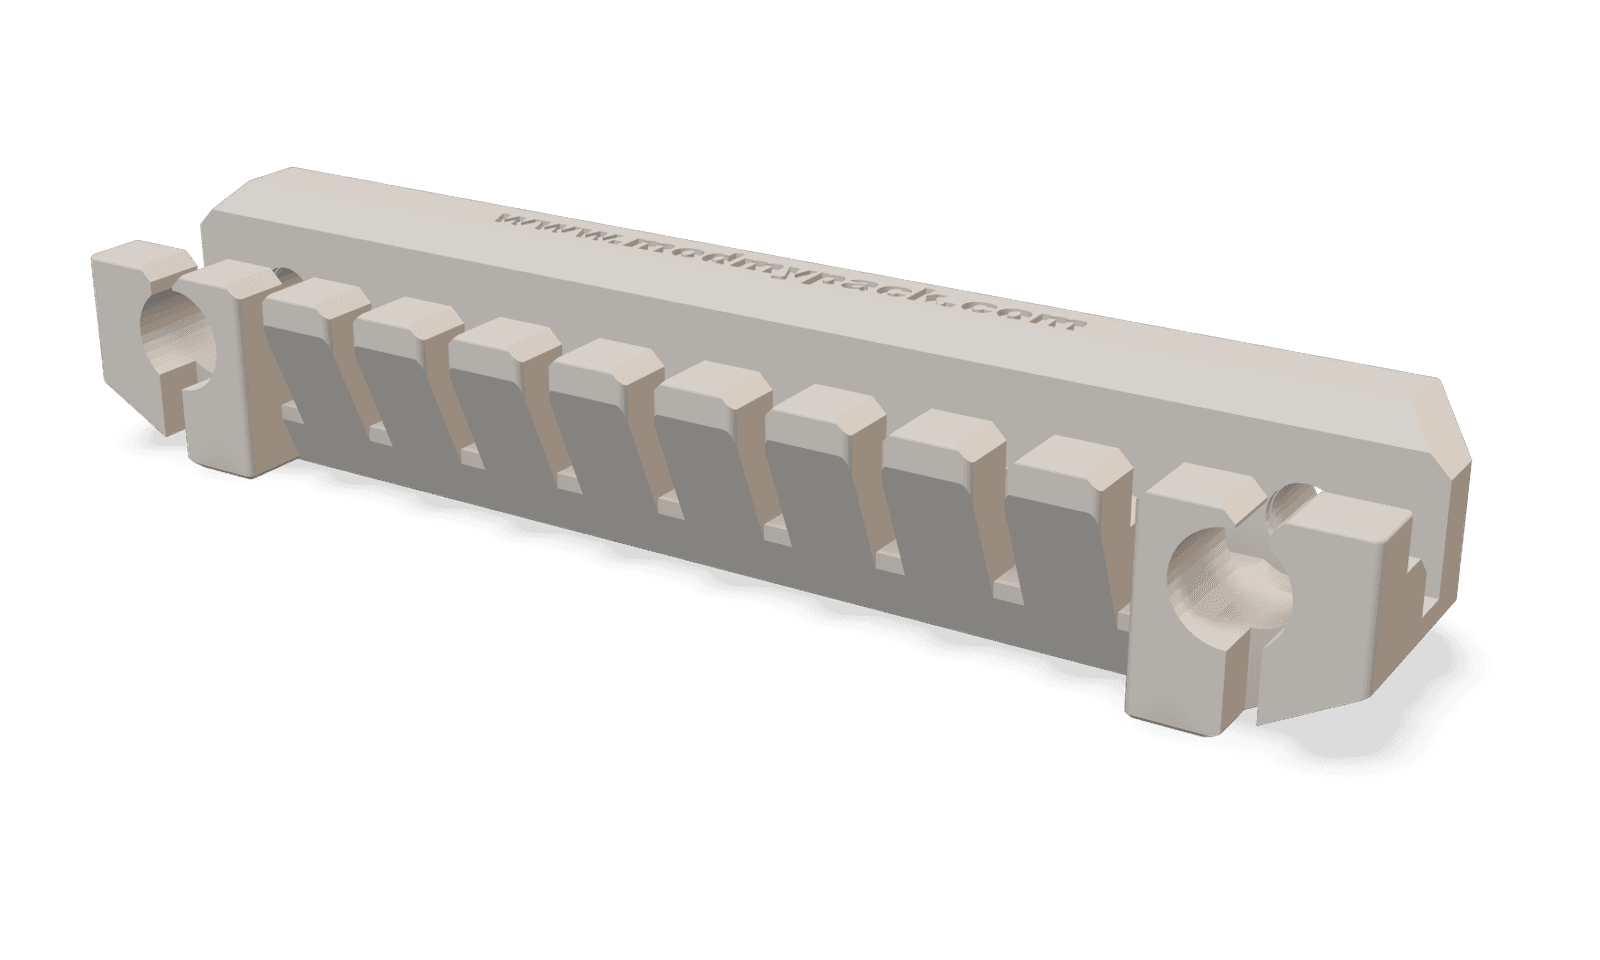
Download the free file and print two cradles per drawer, one for each slide. PETG or ABS, text side up, no supports.
Step 2
Set the inserts
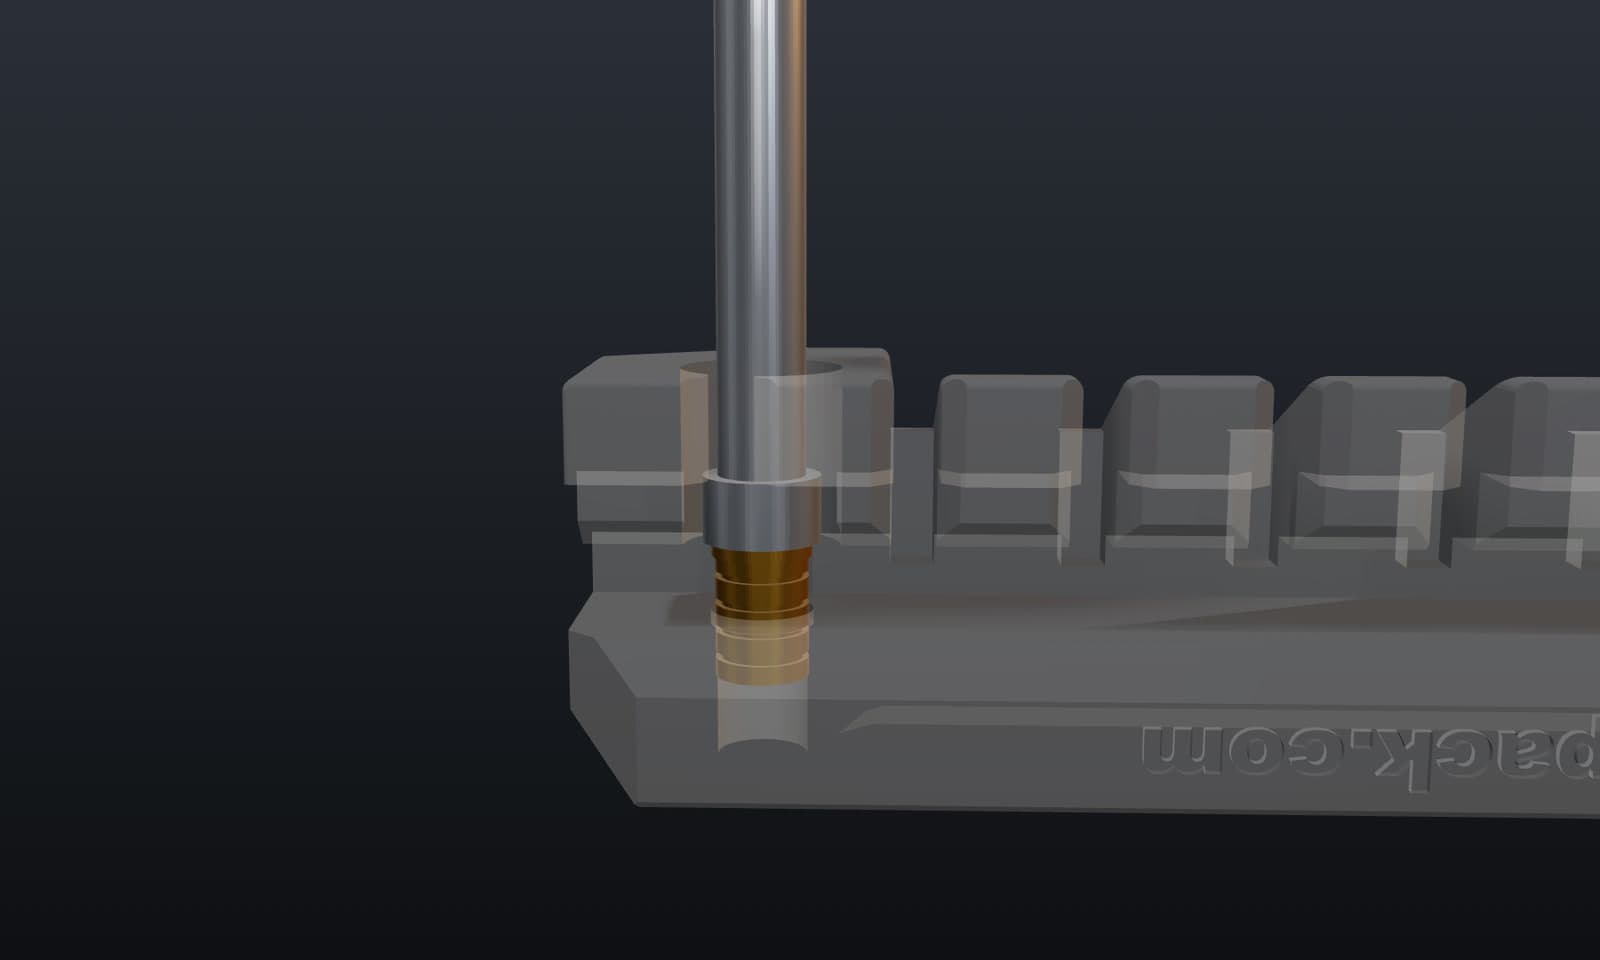
Press an M5 heat-set insert into each mounting hole from the front with a soldering iron. Let them cool before bolting anything.
Step 3
Bolt the cradles to the slides
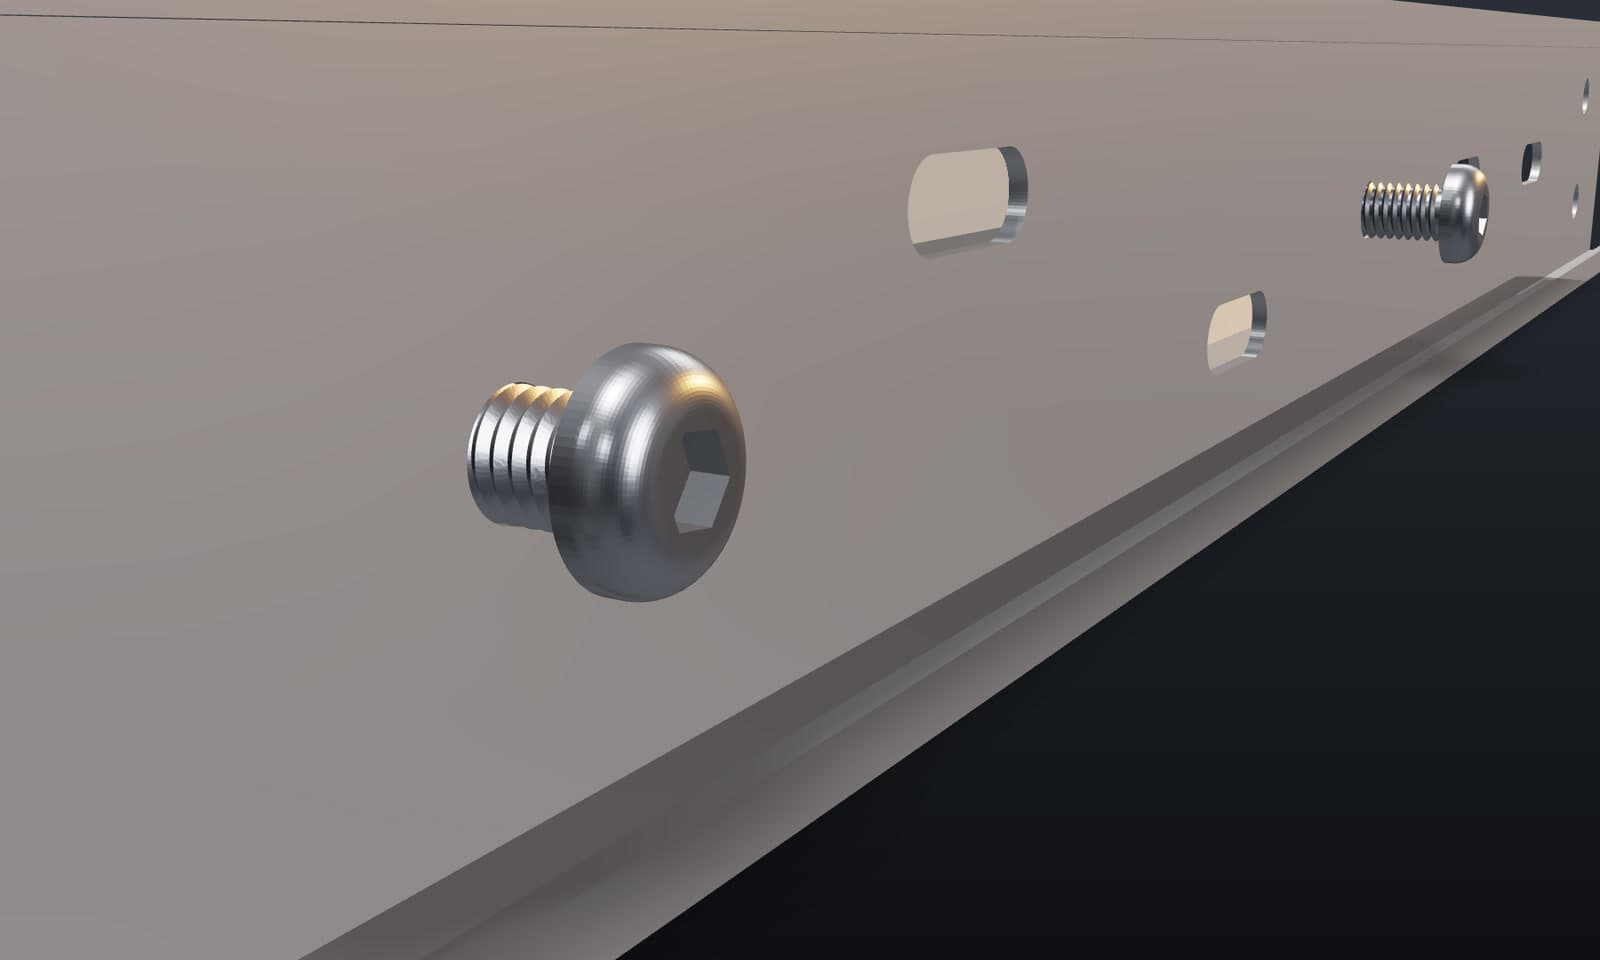
Fasten one cradle to each slide's inner member with M5 screws, 118 mm apart. Most slides need two holes drilled to line up; a drill guide for marking them is coming soon. Mount the slides as mirrored pairs down the sides of your cabinet: 6 to 12 pairs fit a simple plywood carcass.
Step 4
Drop the organizer in
The organizer's molded ribs settle into the comb. No latches, no clamps: pull the drawer out, lift the case straight up, and take it with you.
Will it fit yours?
Reports from people who built one, by organizer and slides.
Loading reports…
Questions before you build
Which PACKOUT™ organizer does it fit?
It's tested with four Milwaukee® PACKOUT™ organizers: the Organizer (48-22-8430), Compact Organizer (48-22-8431), Low-Profile Organizer (48-22-8435) and Compact Low-Profile Organizer (48-22-8436). The comb is sized to the molded ribs those four share. If you try it on another case, a fit report helps the next person.
What drawer slides do I need?
Side-mount ball-bearing slides. The cradle bolts to the slide's inner member with two M5 screws 118 mm apart. It was built and tested with the 20-inch full-extension slides in the parts list, and those need two holes drilled too. Expect to drill most slides: they usually don't have holes in those spots. A drill guide for marking them is coming soon.
Which filament should I use?
PETG or ABS, not PLA. Tools tend to live in hot places, like a garage, a truck or van, or a shed in summer, and the cradle carries a loaded organizer every time the drawer opens. PLA softens around 55–60 °C and slowly creeps under a steady load. PETG (softens around 80 °C) is tough and the easiest of the two to print. ABS (around 100 °C) handles the most heat and takes knocks well, but print it in an enclosure to stop warping, with good ventilation. The layer height, infill and supports in the print settings apply to both; use your filament's usual temperatures.
Does it need supports?
No. Print it text side up, the way the STL is already oriented, and it goes straight to the slicer with no supports.
How many drawers can I fit in one cabinet?
Mirror 6 to 12 pairs of slides down the sides of a simple plywood cabinet. Full cabinet build dimensions are coming soon.
Can I still take the organizer with me?
Yes. The cradle holds the case by its molded ribs and never clamps it, so you pull the drawer out and lift the organizer straight up. No latches, no tools.
Is it really free?
Yes. Sign in once with your email or Google and every design is a free download. The parts list links to the exact hardware it was built with.
Cabinet Build Dimensions
Cut list and dimensions for a plywood cabinet that fits the cradles and slides.