Free 3D print file · PACKOUT-compatible
Label Strips for Milwaukee® PACKOUT™ Organizer Bins
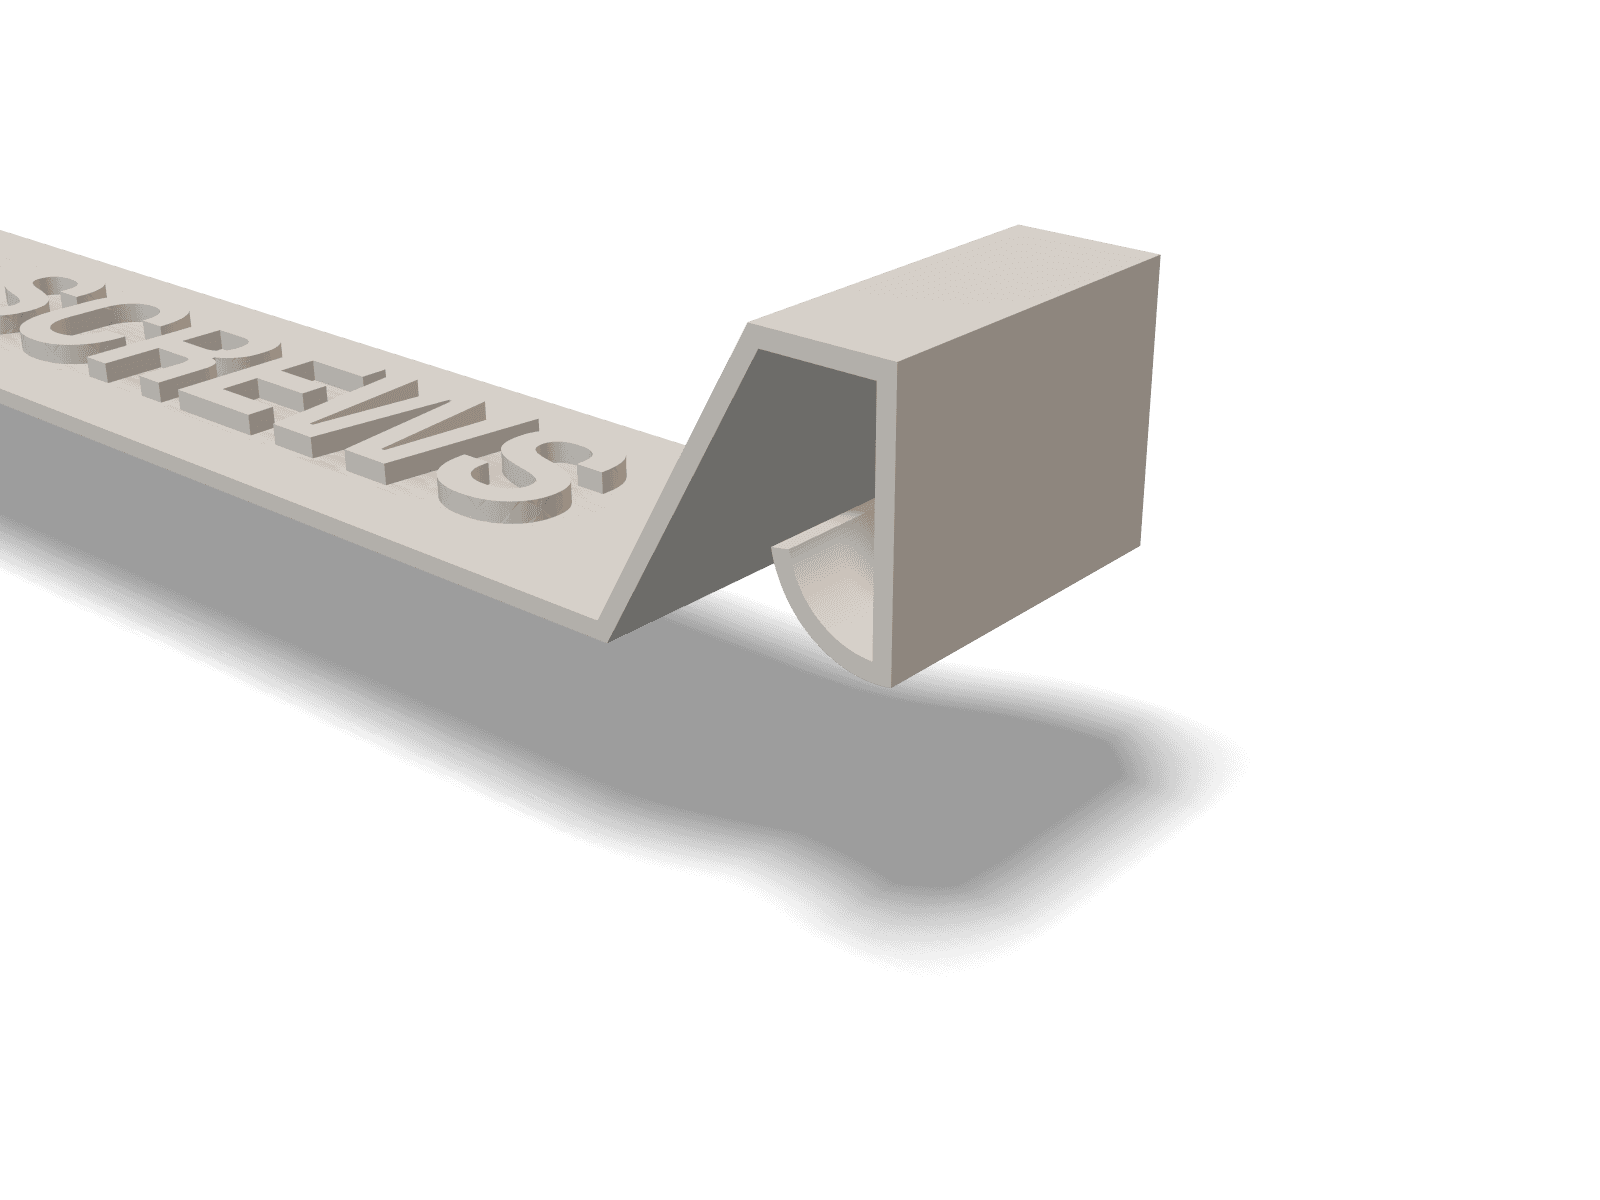
Clip-on strips that label PACKOUT™ organizer bins: print the words right in, or print a blank for your label maker. They flip up out of the way and stay on the bin, so the label moves with it.
Based on Milwaukee Packout Label Strips by Foreverwinter (CC BY 4.0). We added the printed-in lettering; the clip is theirs, unchanged. These files are shared under CC BY 4.0 too: share, change or sell them, crediting Foreverwinter and modmypack.
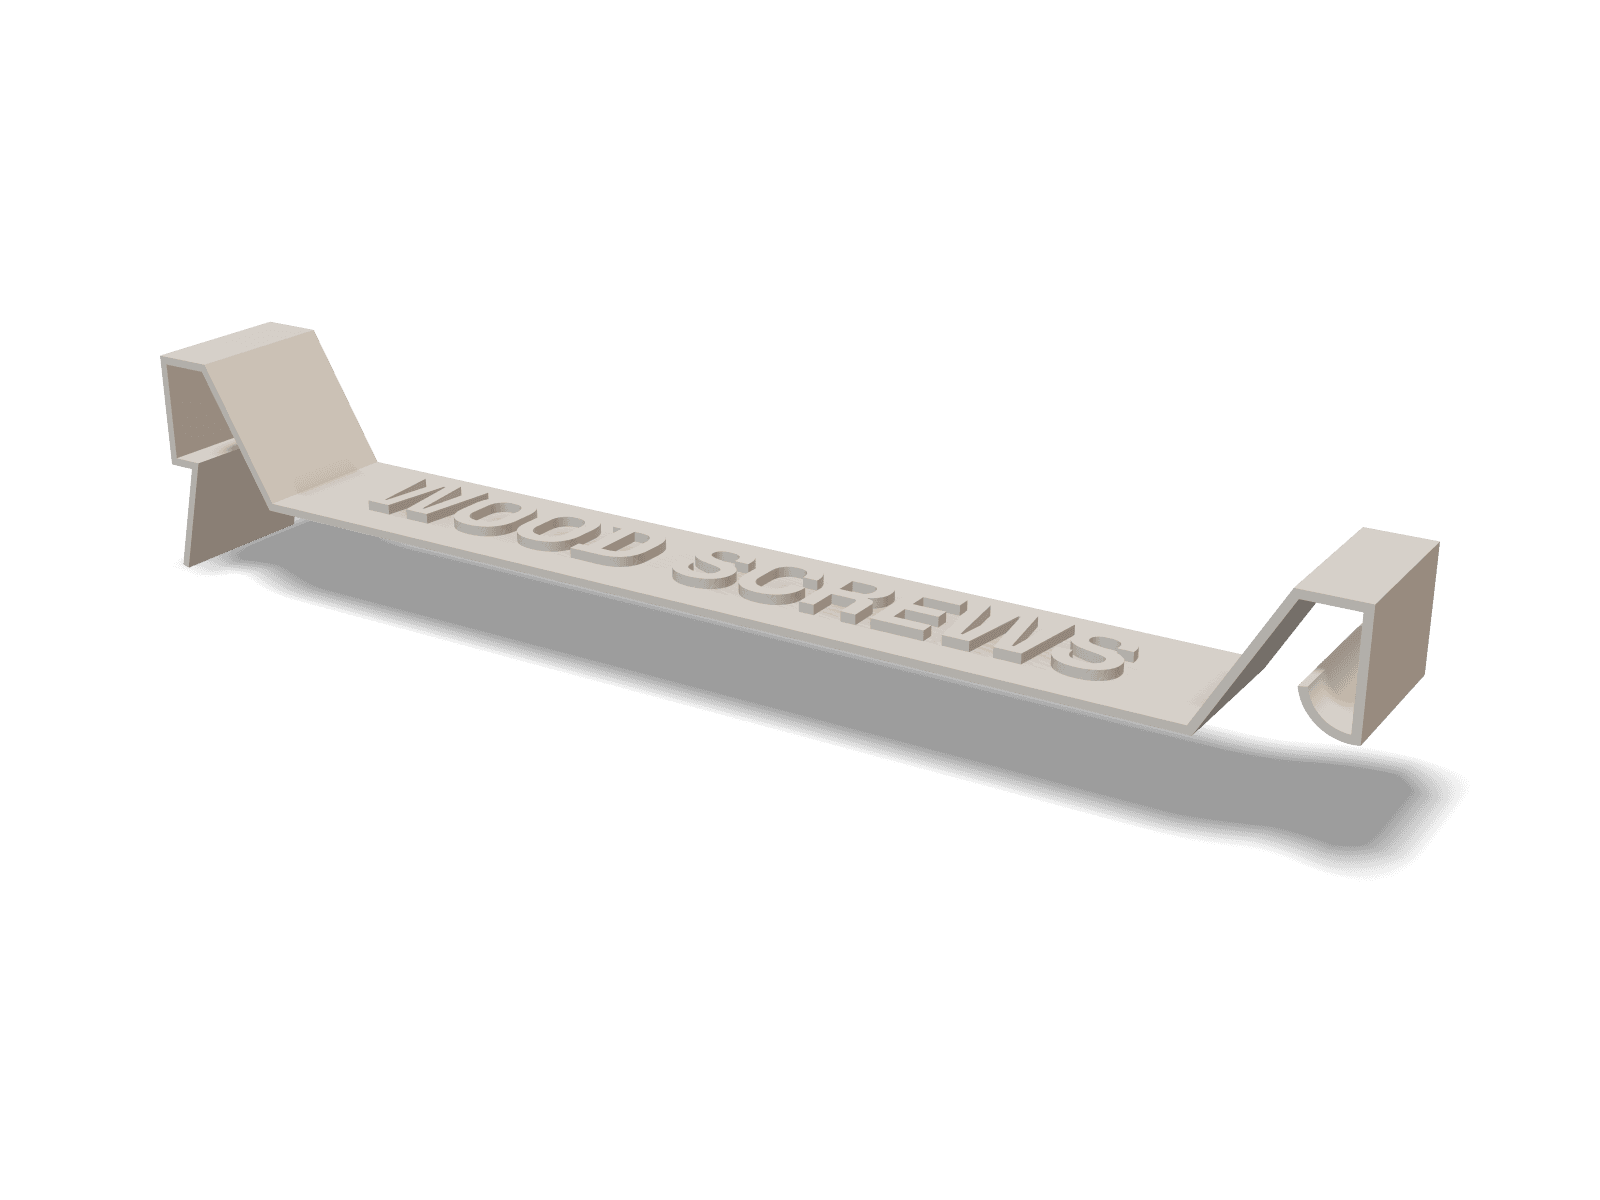 View strip details
Watch it work
What you need
Nothing to buy: just print. Everything here is optional.
Don’t have a 3D printer?
Have it printed for you
Download the file, then upload it to Craftcloud. It compares prices from print shops and ships the parts to you. Ask for PLA or PETG, as in the print settings.
Get it printed on CraftcloudWant a ready-made set from me?
I’m thinking about printing and shipping ready-made sets. Join the list and I’ll email you if I do. No commitment.
Print settings
- Material
- PLA or PETG
- Layer height
- 0.2 mm
- Infill
- n/a (one wall)
- Supports
- None
Print each strip as it lies, standing up. It's a single 0.65 mm wall, so turn on Arachne ("detect thin walls" in older slicers). A 0.4 or 0.6 mm nozzle works. The letters stand 0.8 mm off the face: with a multi-material printer, give them a contrasting color.
Install
Step 1
Pick the version
Look at the bin. If one long edge is thicker, with notches, it's a deep bin: use the deep strips. Otherwise use the shallow ones. If you've nested printed inserts in a shallow bin, use the inserts blank: its latch leg clears them.
Step 2
Pick your labels
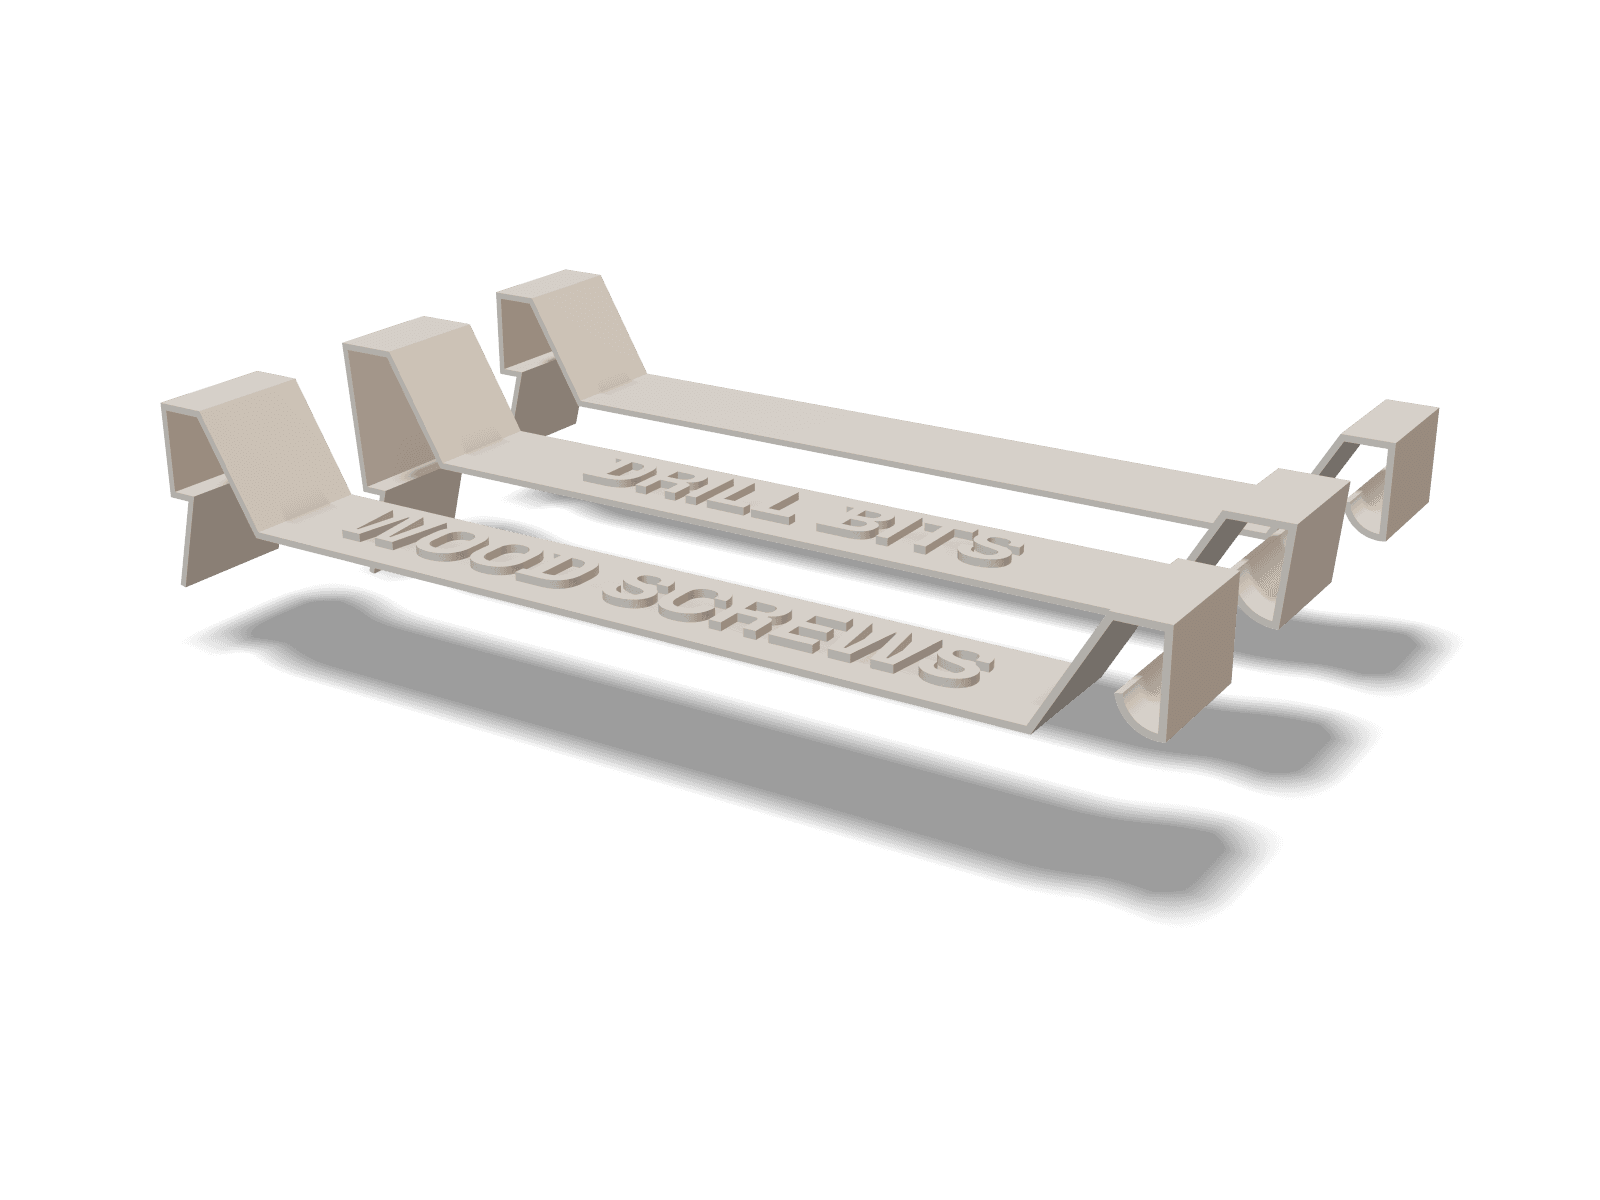
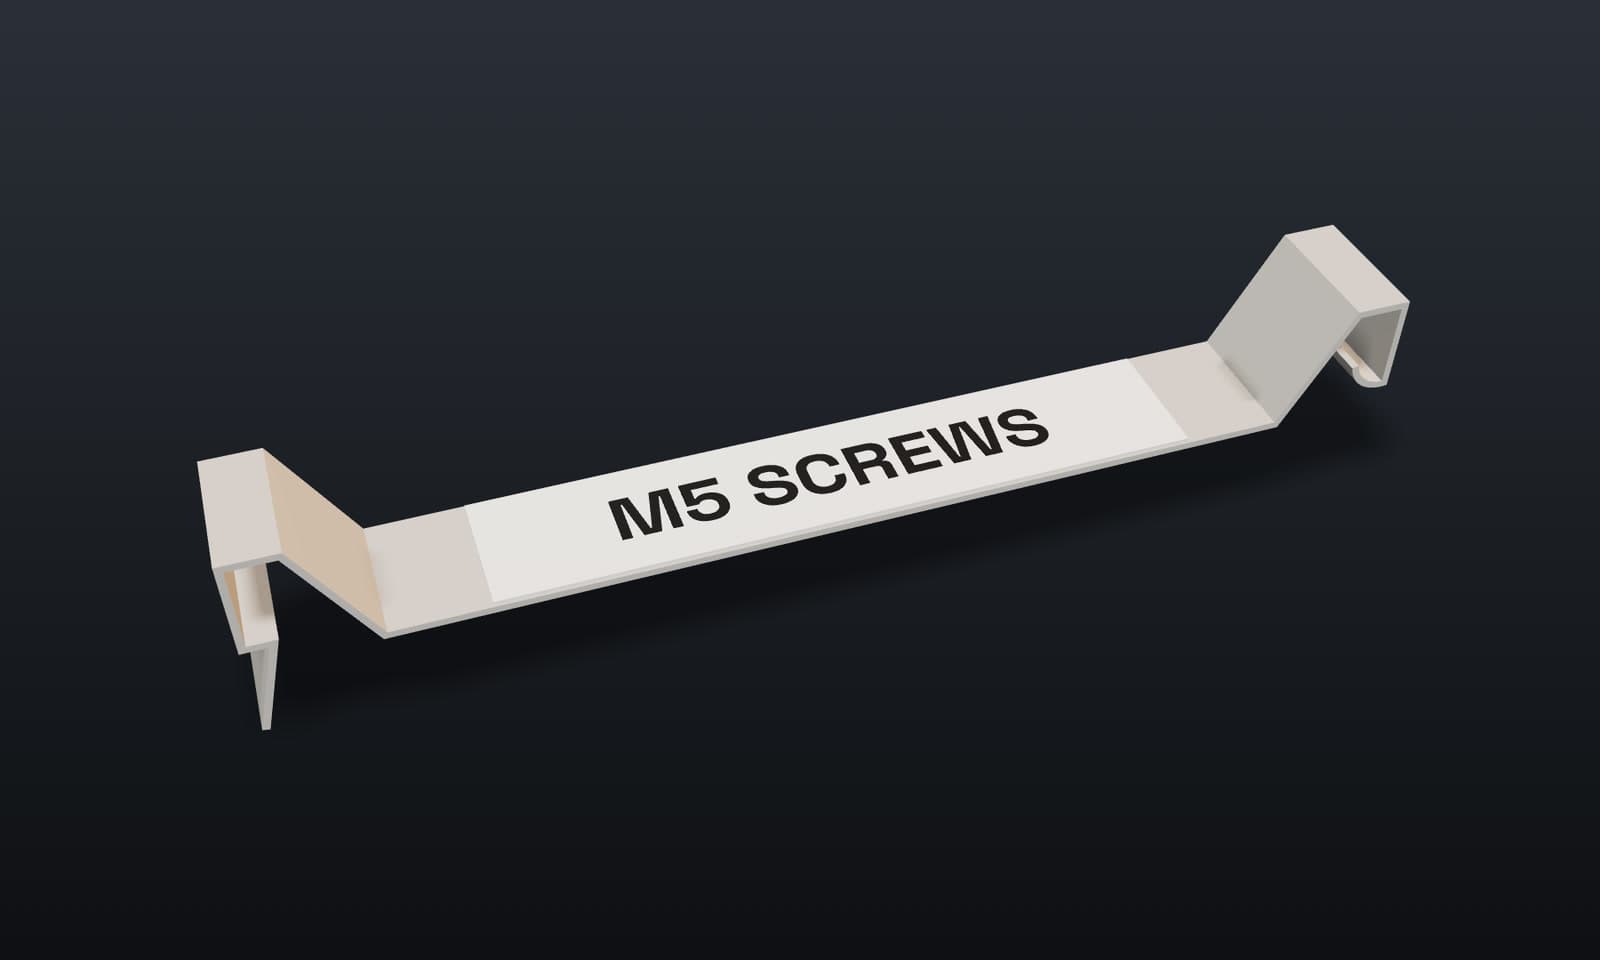
Printed-in: the download has 16 ready-made labels (WOOD SCREWS, WIRE NUTS, ANCHORS and more) for shallow and deep bins. Your own words: print the blank and press on a label from a label maker with 12 mm (½ in) tape, like the Brother P-touch or DYMO in the parts list. Or add your own text to the blank in your slicer (the download's README shows how). Print them standing up, no supports.
Step 3
Clip it on
Hook the hinge side over the bin's rim with the strip standing up, then swing it down over the far rim until the latch clicks. On a deep bin, the hinge goes on the thicker, notched edge. Flip it up to reach in; it stays hooked on.
Questions before you build
Which organizers does it fit?
We clipped them onto the bins of all four PACKOUT™ organizers in the parts list: the Organizer, the Compact Organizer, and both Low-Profile versions.
Can I get a label that isn't in the starter set?
Yes, two ways. Print a blank and press on a label-maker label: any 12 mm (½ in) tape fits, such as Brother TZe or DYMO D1 (both makers are in the parts list). Or add raised text to the blank yourself: Bambu Studio, OrcaSlicer and PrusaSlicer can all place text on a model's face, and the download's README walks through it. A make-your-own-label tool on this page is planned.
Who designed it?
The clip is Foreverwinter's "Milwaukee Packout Label Strips", shared under CC BY 4.0, which lets anyone build on it with credit. We added the printed-in lettering and the starter set; the hooks, latch and the three versions are theirs, unchanged. So these files are CC BY 4.0 too, not our usual personal-use terms: you can share, change or sell them, as long as you credit Foreverwinter and modmypack. The download's LICENSE.txt and CREDITS.txt have the details.
Will the strips get in the way of the lid or of stacking bins?
No. The label face dips about 10 mm into the bin, below the rim, so the lid closes over it, and the strips don't stop you lifting bins in and out.
Is it really free?
Yes. Sign in once with your email or Google and every design is a free download.