
Free 3D print file
Slide Spacing Gauges for the Drawer Cabinet
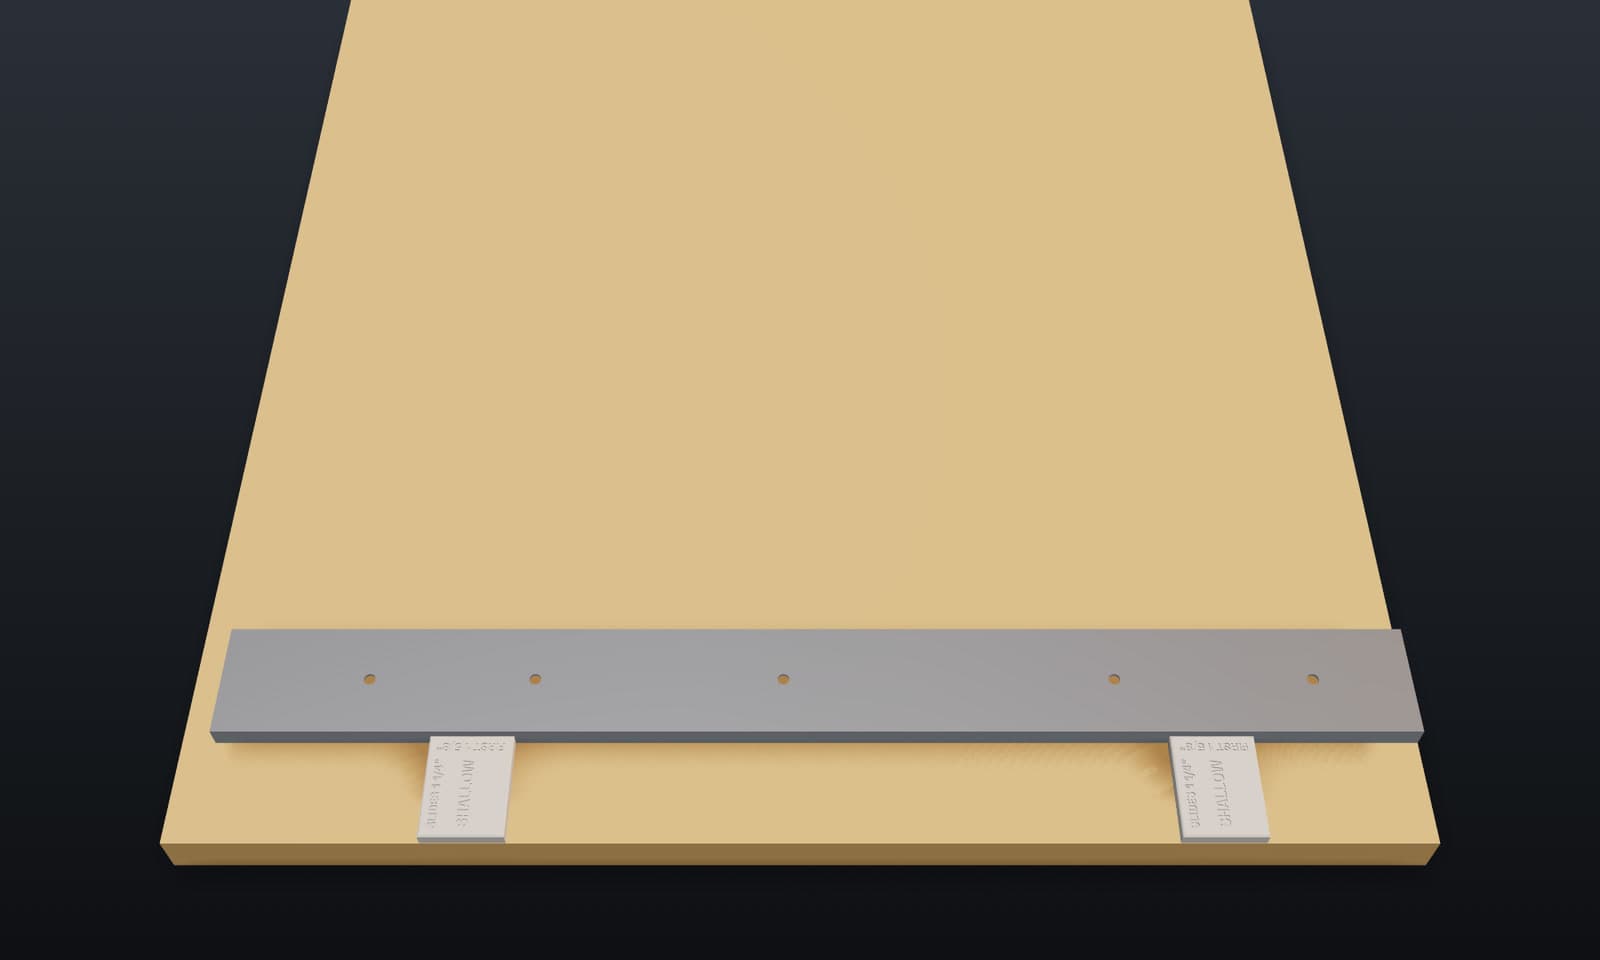
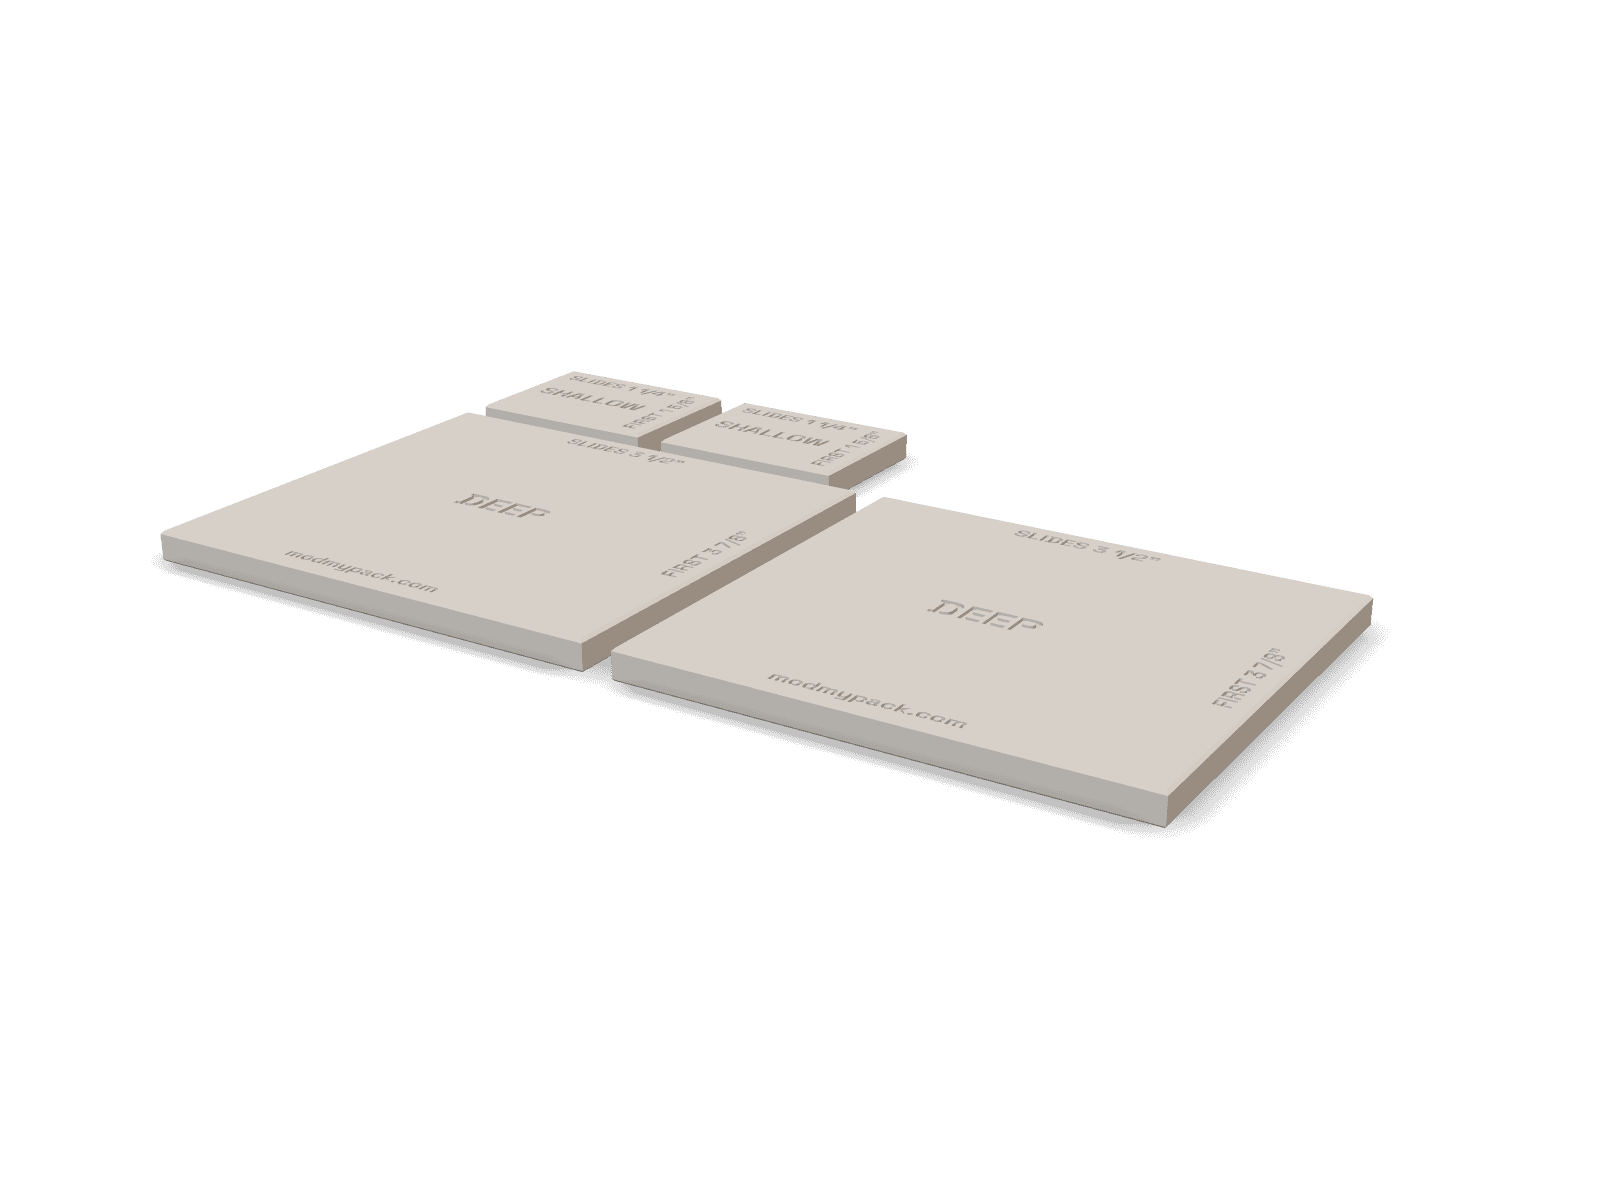
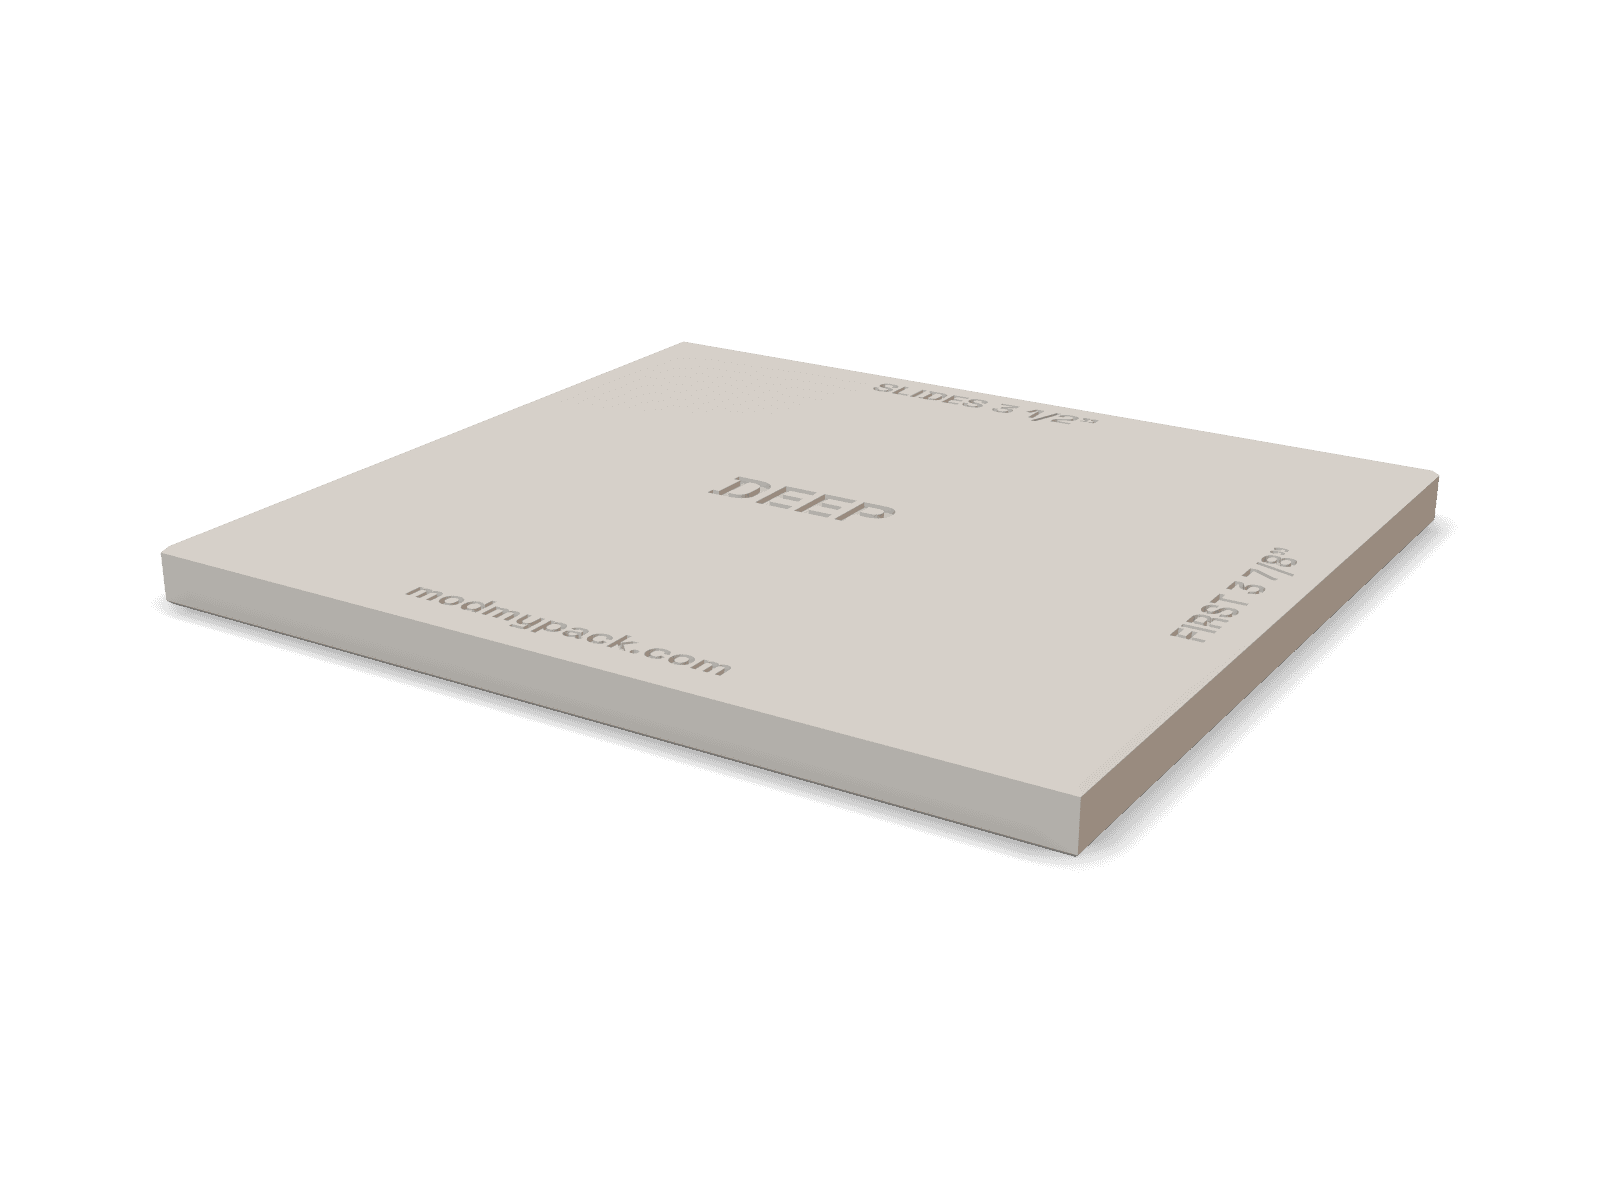
Printed spacers that set every drawer slide in the Drawer Cabinet: one plate per drawer kind, laid the long way under the lowest slide and the short way between slides. Shallow and deep, in any mix.
 View gauge set details
Watch it work
What you need
Nothing to buy: just print. Everything here is optional.

The Drawer Cabinet plans
The gauges set the slides for the free Drawer Cabinet plans: the cut list, the slide layout and every spacer size, for compact and full-size organizers.
See the cabinet plansDon’t have a 3D printer?
Have it printed for you
Download the file, then upload it to Craftcloud. It compares prices from print shops and ships the parts to you. Ask for PLA or PETG, as in the print settings.
Get it printed on CraftcloudWant a ready-made set from me?
I’m thinking about printing and shipping ready-made sets. Join the list and I’ll email you if I do. No commitment.
Print settings
- Material
- PLA or PETG
- Layer height
- 0.2 mm
- Infill
- 100%, or 4+ walls
- Supports
- None
Print two of each plate you need, flat as they come. They're spacers, so solid is best. The bed-side edges are chamfered so elephant's foot can't make a plate read big; check them with calipers anyway.
Install
Step 1
Print the plates for your drawers
Two shallow plates if your cabinet has shallow drawers, two deep if it has deep ones; most mixed cabinets want both. The full set prints on one 256 mm bed.
Step 2
Lowest slide: the long way
Lay the side flat, inside face up. Set two plates for the lowest drawer the long way, FIRST along the side's bottom edge, one near each end. Butt the slide against them and screw it on.
Step 3
Every slide above: the short way
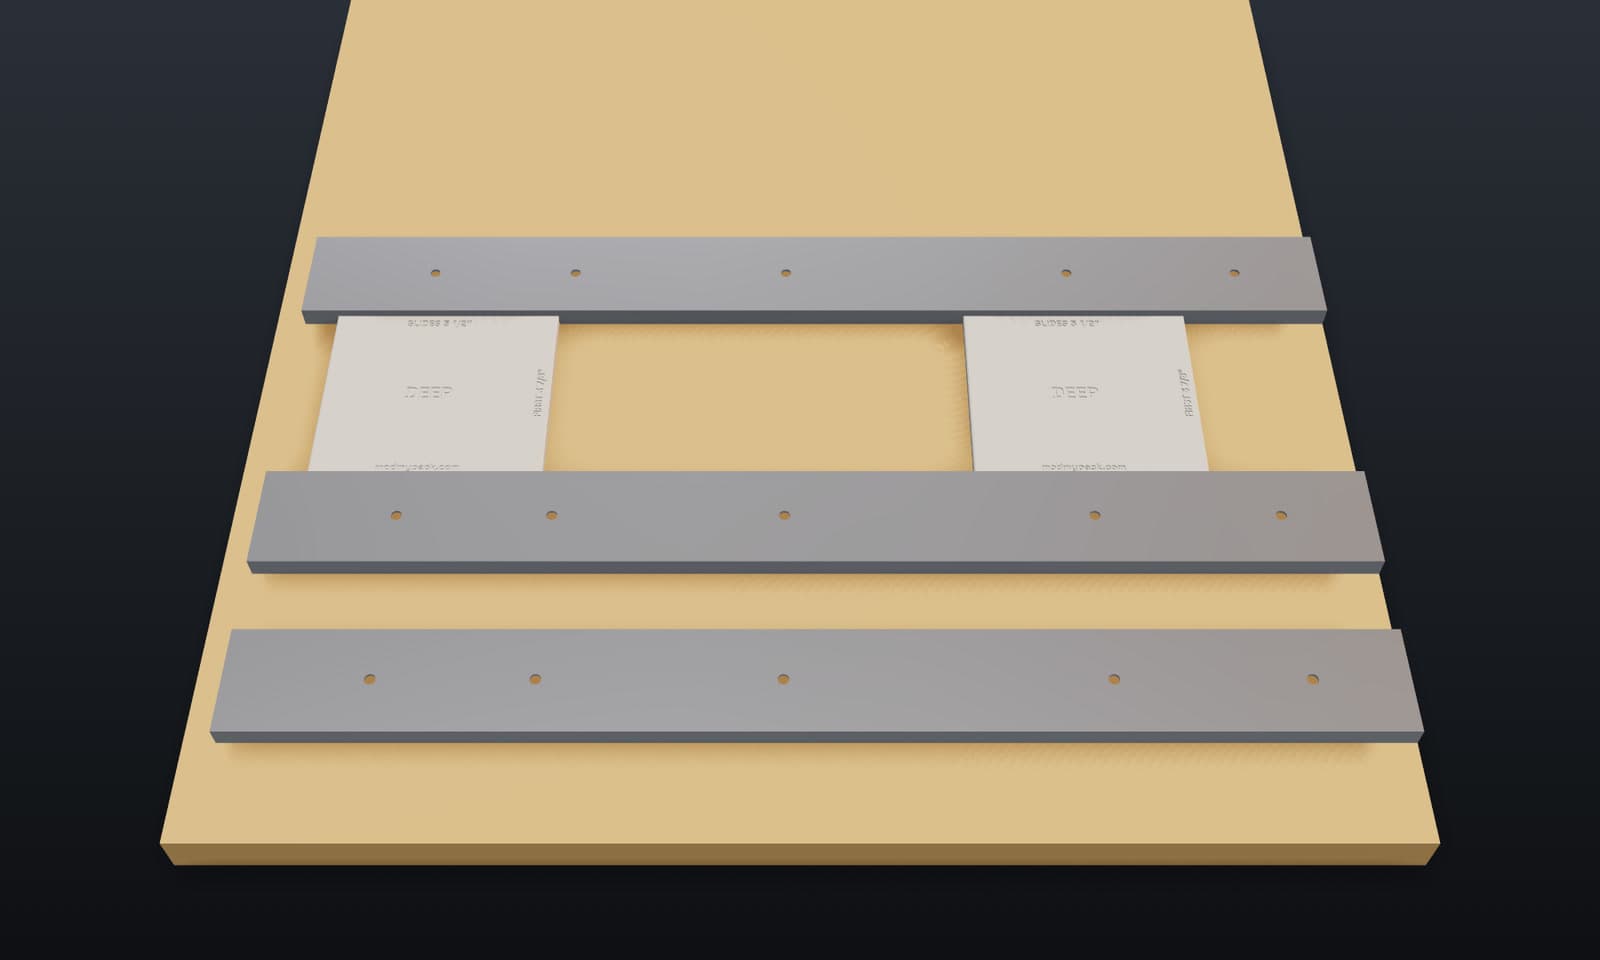
Lay two plates for the next drawer the short way on the slide you just mounted, the SLIDES edges against it. Butt the next slide on and screw it on. The rule for a mixed cabinet: each slide sits on the plate for its own drawer.
Step 4
The top takes care of itself
Cut the side to the plans' height and the top case ends 3/4 in under the top panel, the top slide's centreline 2 in under it. Mirror the other side the same way.
Questions before you build
Why bottom-up?
It takes the fewest spacers: one plate per drawer kind covers the lowest slide and every gap above it. The plans cut the side to the exact height the stack needs, so the top spacing comes out right on its own.
Do I need both kinds?
Only for drawers you have. All shallow drawers: two shallow plates. All deep: two deep. Mixed: two of each, and each slide sits on the plate for its own drawer.
Can I still use plywood strips?
Yes. The cabinet plans give the same sizes as rip widths. The plates just save cutting and measuring them, and they're labeled.
Is it really free?
Yes. Sign in once with your email or Google and every design is a free download.