Free 3D print file
Slide Marking Jig for the Drawer Cradle
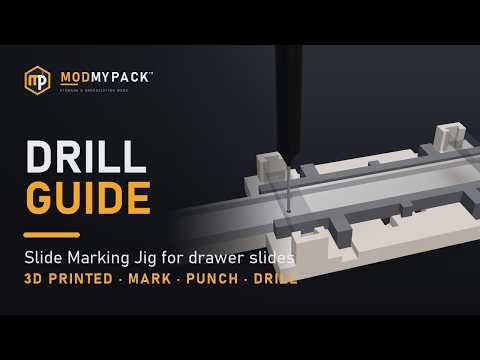
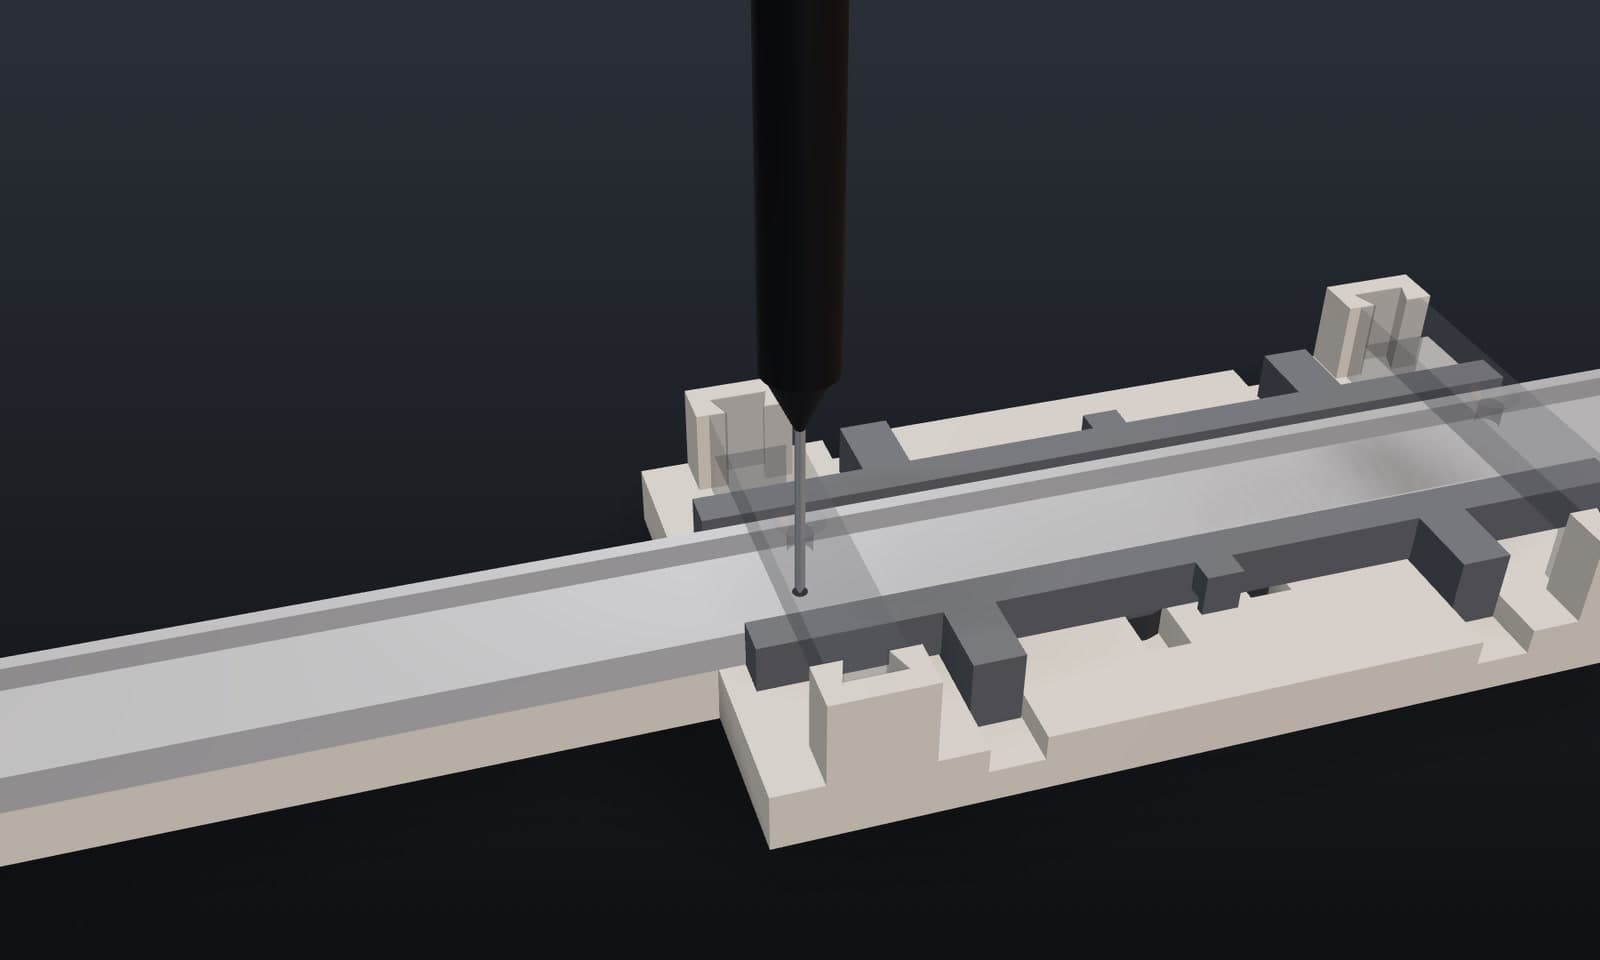
A 3D-printed drill guide that self-centers on a drawer slide's inner member and marks both Drawer Cradle mounting holes in one shot: mark, punch, drill.
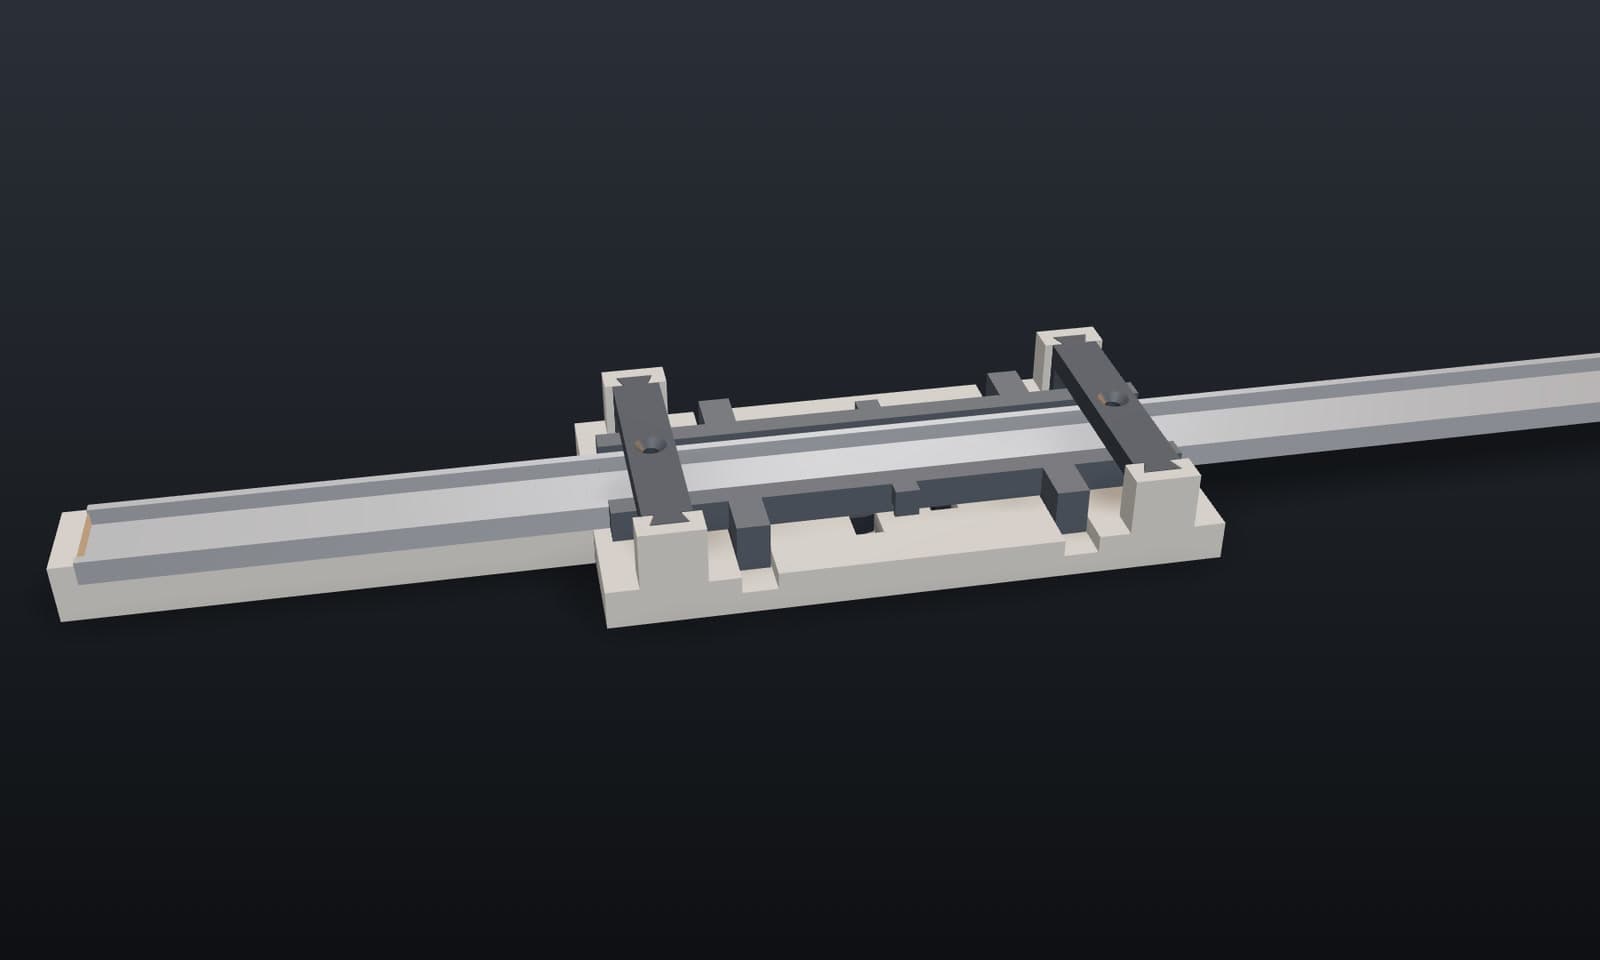 View jig details
Watch it work
What you need
Don’t have a 3D printer?
Have it printed for you
Download the file, then upload it to Craftcloud. It compares prices from print shops and ships the parts to you. Ask for PLA or PETG, as in the print settings.
Get it printed on CraftcloudWant a ready-made set from me?
I’m thinking about printing and shipping ready-made sets. Join the list and I’ll email you if I do. No commitment.
Print settings
- Material
- PLA or PETG
- Layer height
- 0.2 mm
- Infill
- 3–4 walls, 15% infill or more
- Supports
- None
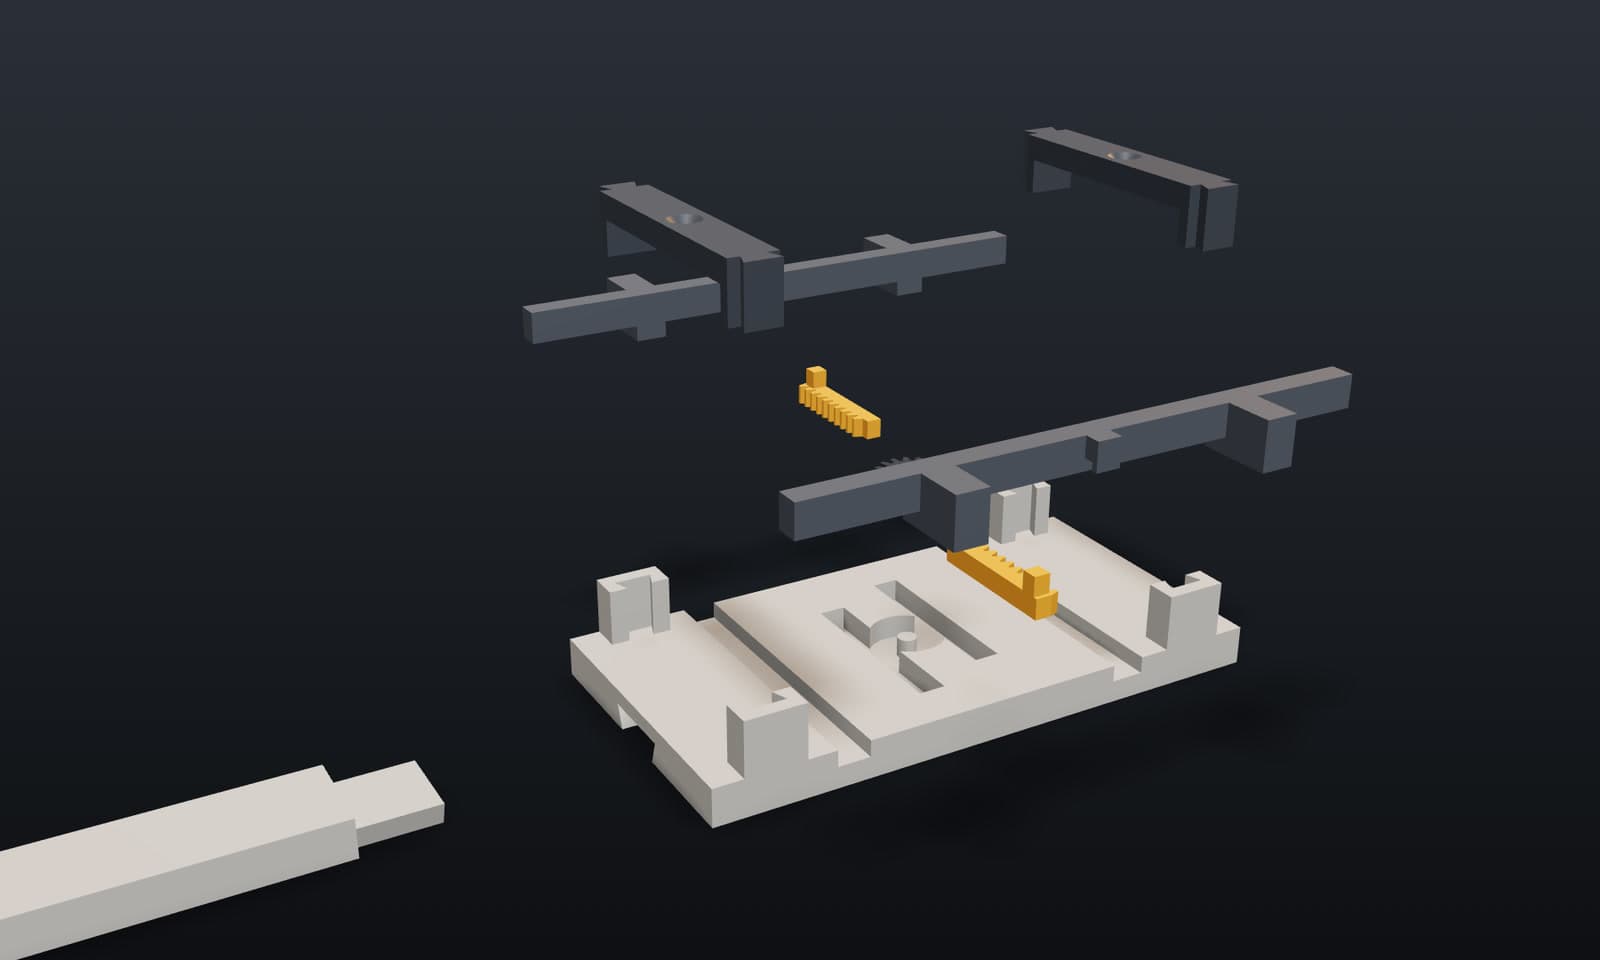
Print one base, gear and stop arm, and two each of the jaw, rack and punch bar. Every STL is already oriented to print: the jaws and bars go on their top faces. You also need one rubber band. A jig lives indoors and carries no load, so PLA is fine here.
Install
Step 1
Print and assemble
Press each rack's peg up into its jaw, drop the gear on its pin, and set both jaws in the base with the racks meshing either side of the gear. Slide the stop arm into its dovetail and loop the rubber band over the two posts.
Step 2
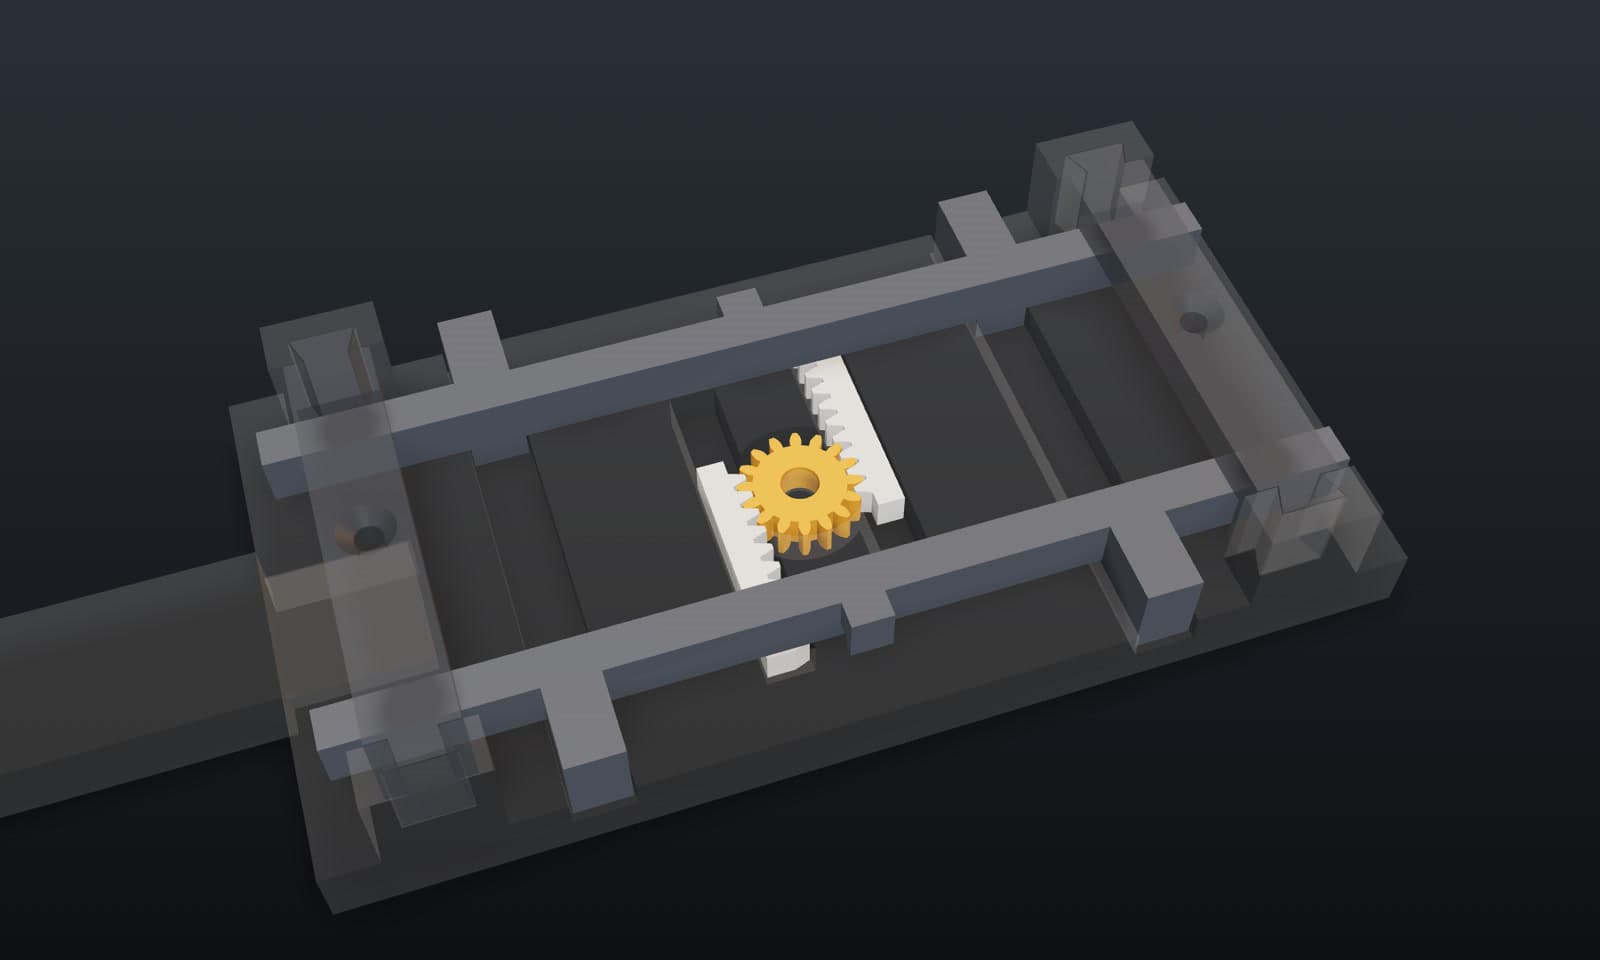
Center the slide
Separate the slide and take the inner member. Squeeze the jaws open, lay it face down against the stop arm, and let go: the rack and pinion closes both jaws evenly, so the member sits on the jig's centerline at any height from 20 to 40 mm.
Step 3
Mark both holes
Drop a punch bar into each pair of pillars and mark through both guide holes with a deep-reach marker. The holes land 118 mm apart, the first 134 mm from the slide's front end, which is where the Drawer Cradle bolts on.
Step 4
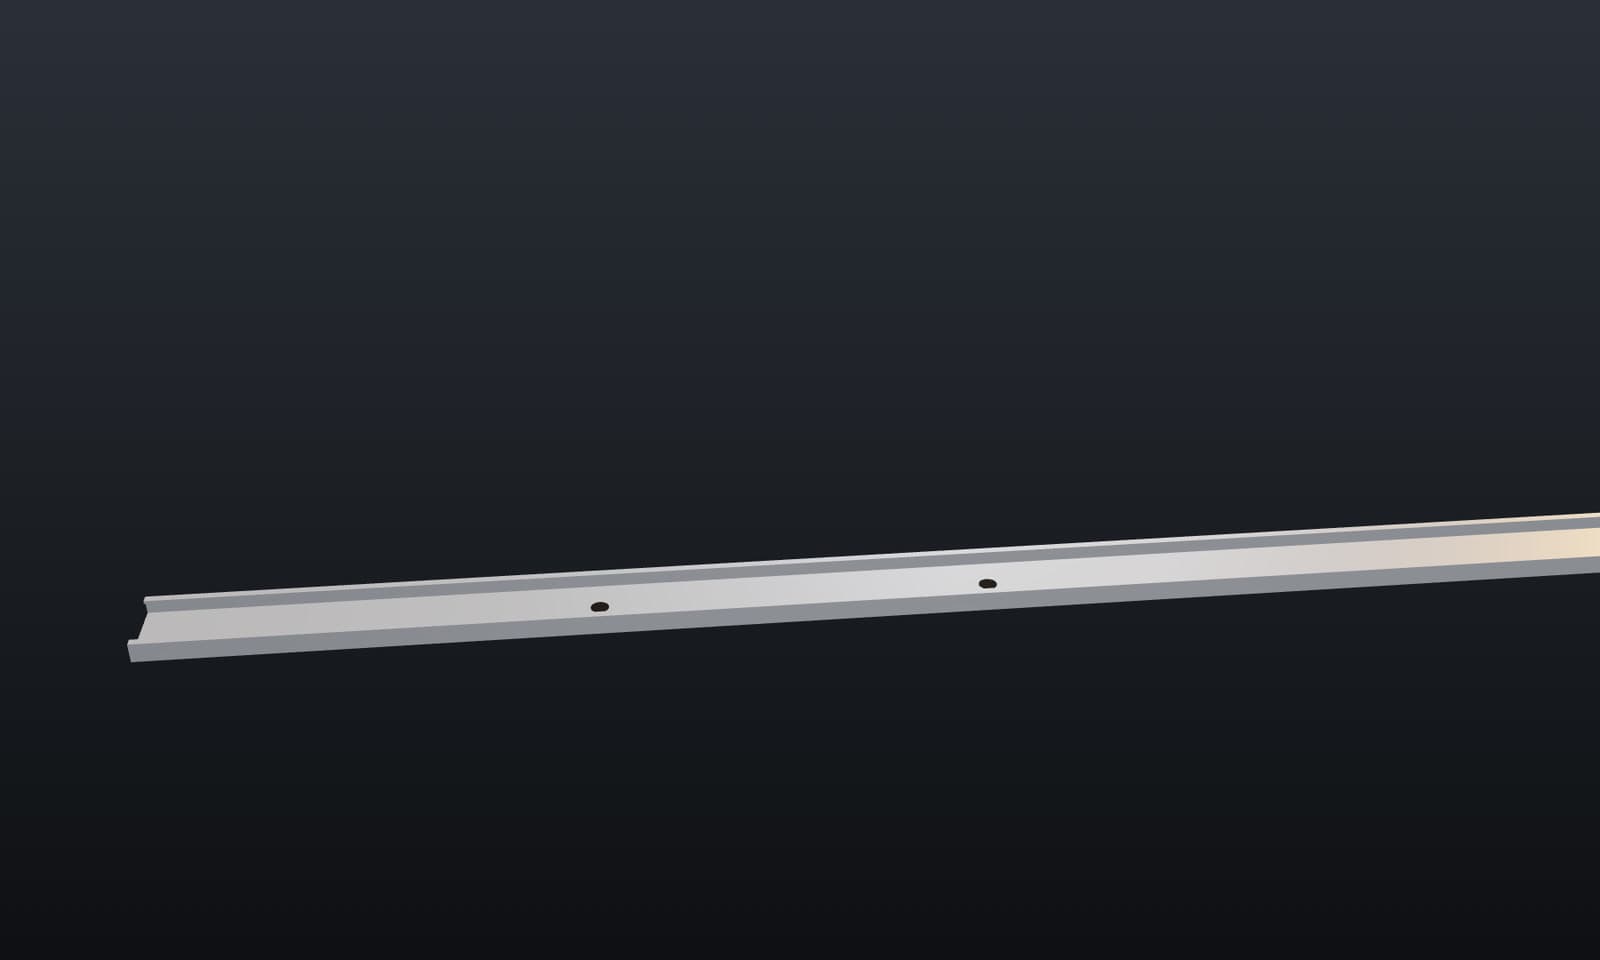
Punch and drill
Lift the bars, slide the member out, and center-punch each mark. Drill both 7/32 in (5.5 mm), deburr, and bolt on the cradle with its M5 screws.
Questions before you build
Which drawer slides does it fit?
It's sized for the inner member of a 20-inch full-extension side-mount slide, like the slides in the Drawer Cradle's parts list. The jaws center anything from 20 to 40 mm tall, and the punch bars clear a profile up to 8 mm deep. The stop sets the first hole 134 mm from the front end, so other lengths work as long as the cradle should sit at that spot.
Why 134 mm from the front?
It centers the cradle so a PACKOUT™ organizer's front sits flush with the cabinet when the slide's front is flush with the cabinet face.
Do I need the Drawer Cradle to use it?
It's made for it: the two holes match the cradle's 118 mm screw spacing. If you're mounting something else with the same spacing, it works for that too.
Does it need supports?
No. All six files print flat with no supports, and each fits a 180 × 180 mm bed.
Can I drill straight through the jig?
Mark through it instead. The guide holes are sized for a marker tip, and a punch and drill bit wander less in a dimple than through a plastic guide. Punch and drill with the slide out of the jig.
Is it really free?
Yes. Sign in once with your email or Google and every design is a free download.